
Project Espresso – The Grinder
The start
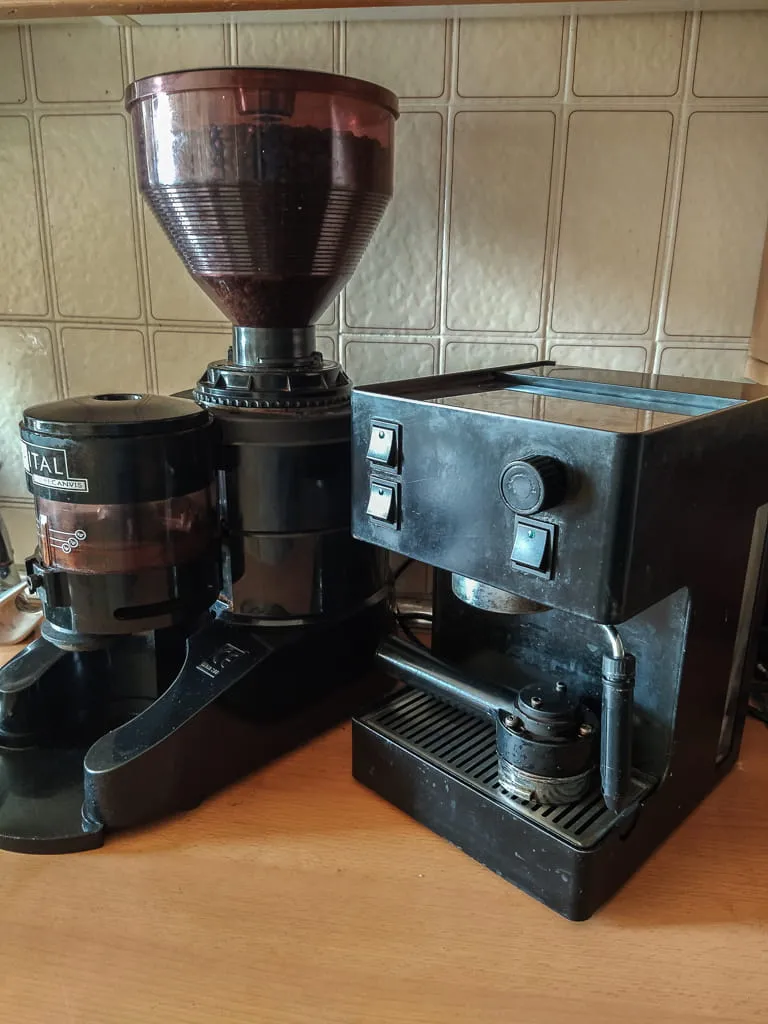
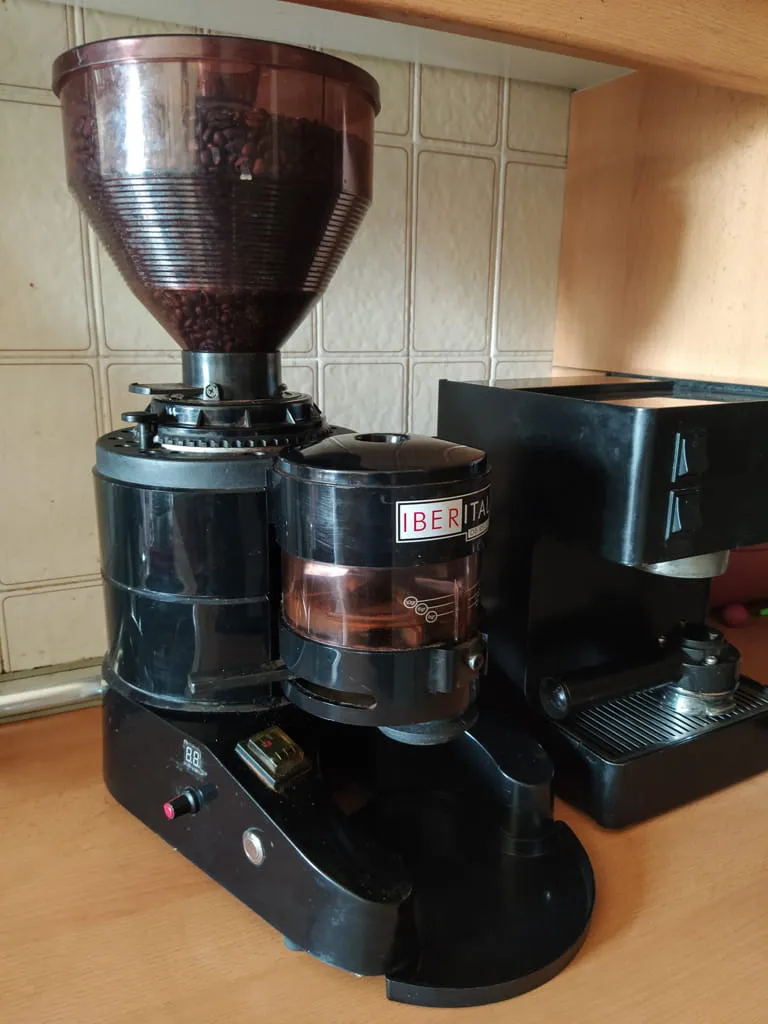
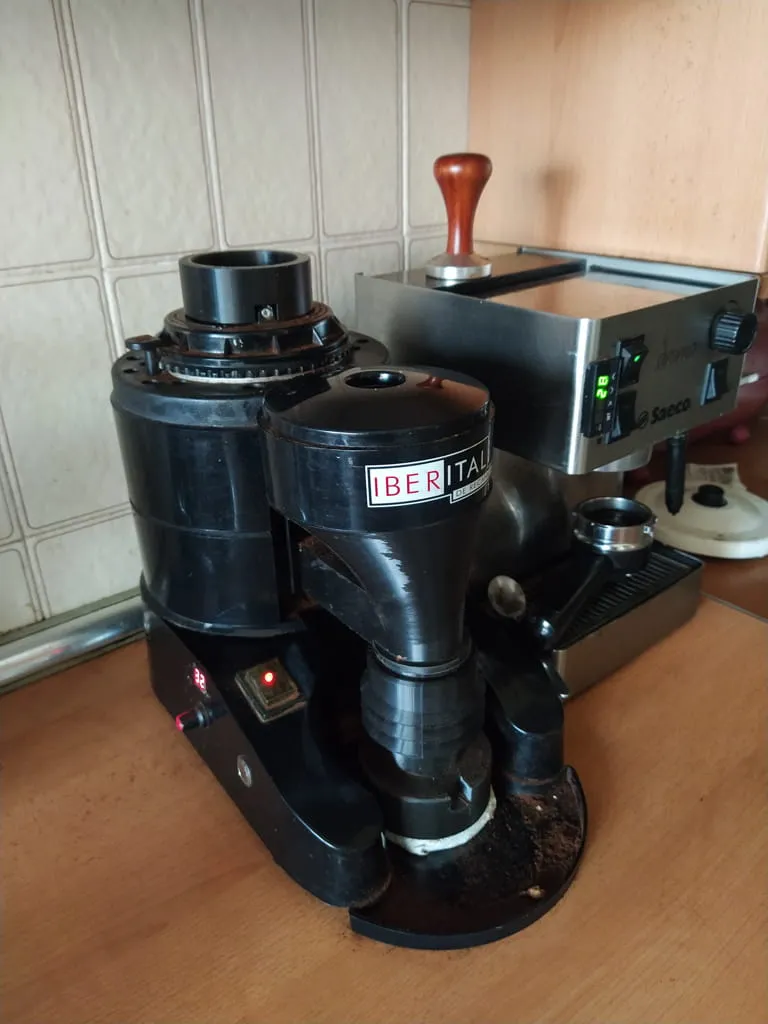
Version Alfa – Cunill Brasil
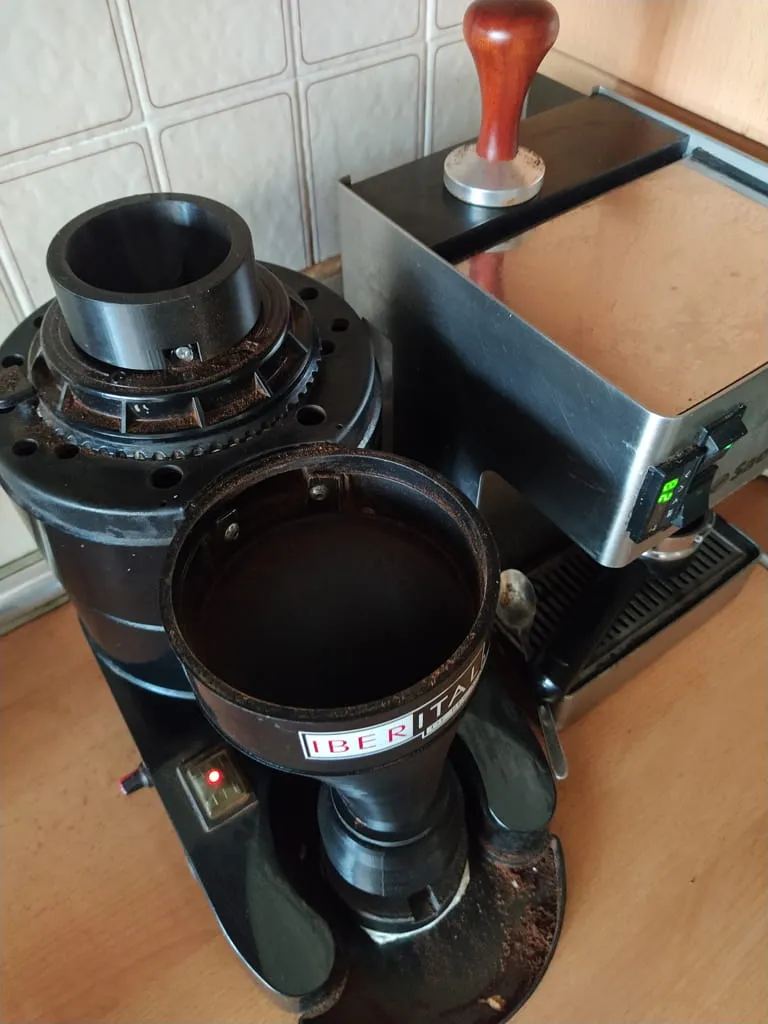
The burrs of the grinder.
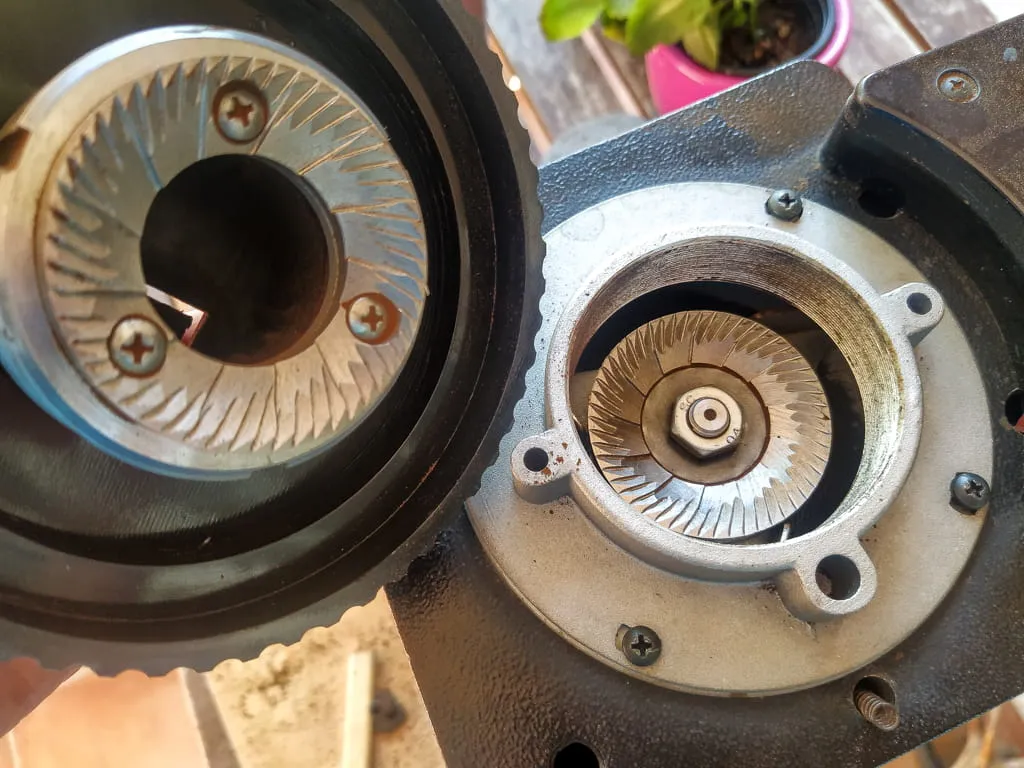
The top fixed part of the burr on the left. The burr is fixed onto a thread that fits into the base plate on the right. Turing left or right this fixed part will bring it closer or further from the moving burr essentially setting the grind size. The spring on the bottom right of the photo, that normally has a bit of plastic on top, is what prevents the fixed part from turning on its own during operation.
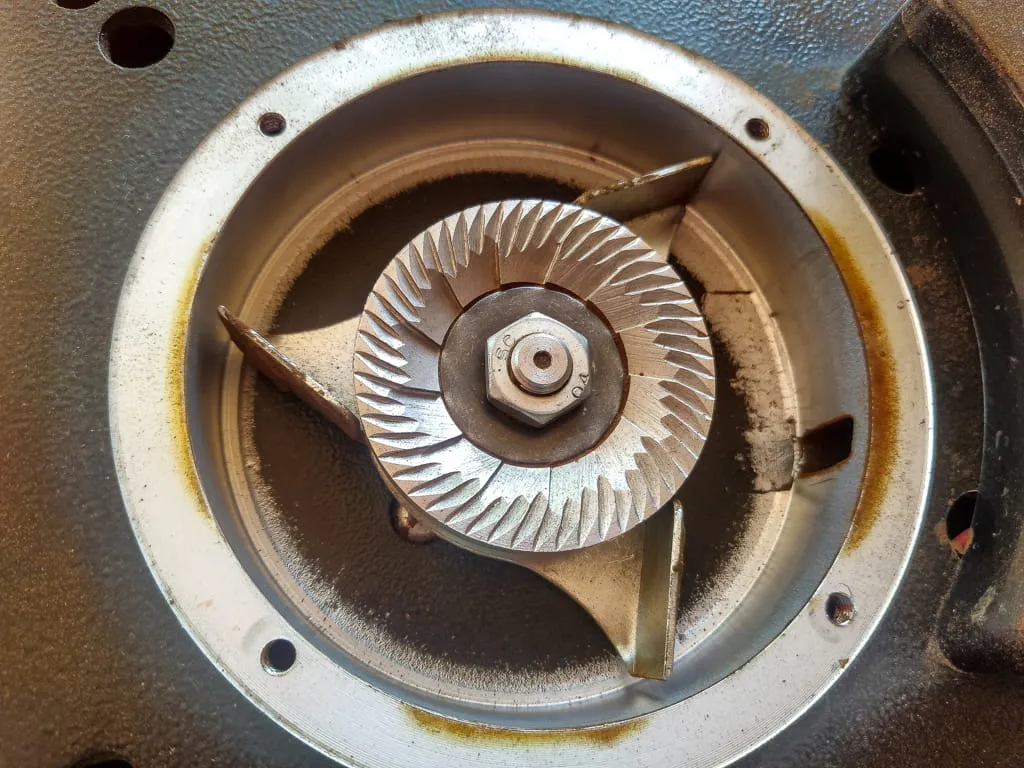
The moving burr with base plate removed for cleaning. There is a hole on the right where the ground coffee should exit.
When buying used grinder, getting a new burr set is IMPERATIVE!
- https://www.bluestarcoffee.eu/en/Cunill-Grinder-Flat-Blades-Original-OEM/m-3348.aspx
- https://www.bluestarcoffee.eu/en/Cunill-Grinder-Flat-Blades-generic/m-5926.aspx
- https://www.bluestarcoffee.eu/en/Cunill-Grinder-Flat-Blades-Original-OEM-65mm/m-6298.aspx
Modifications
- Grinding timer
Project Processes
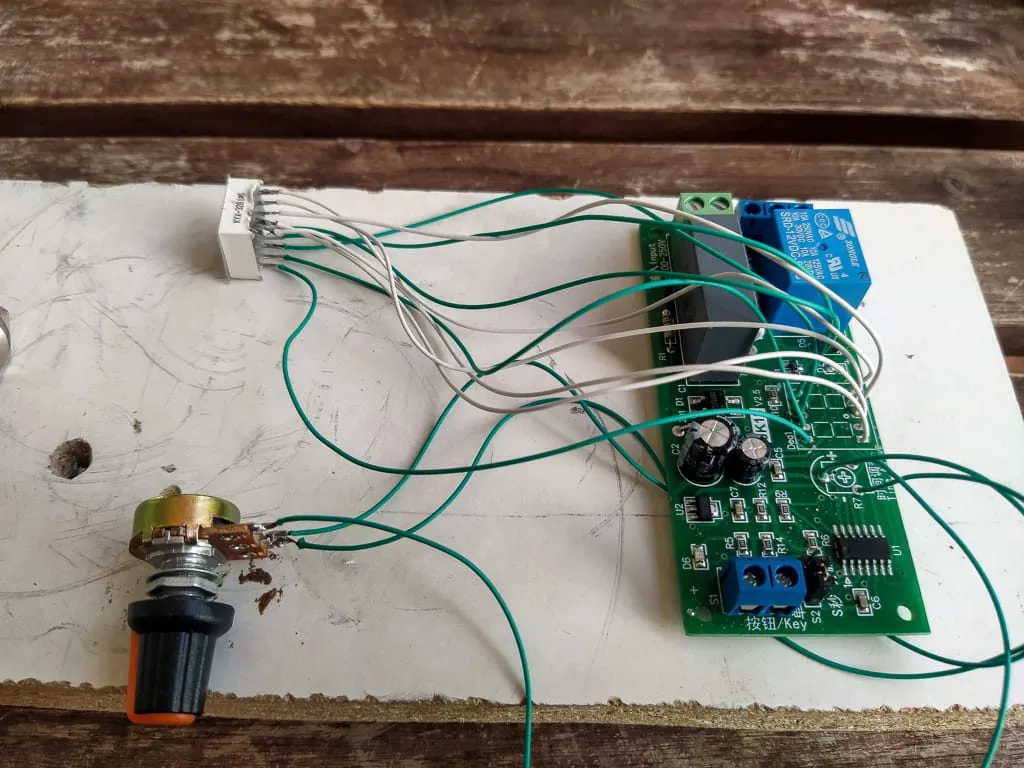
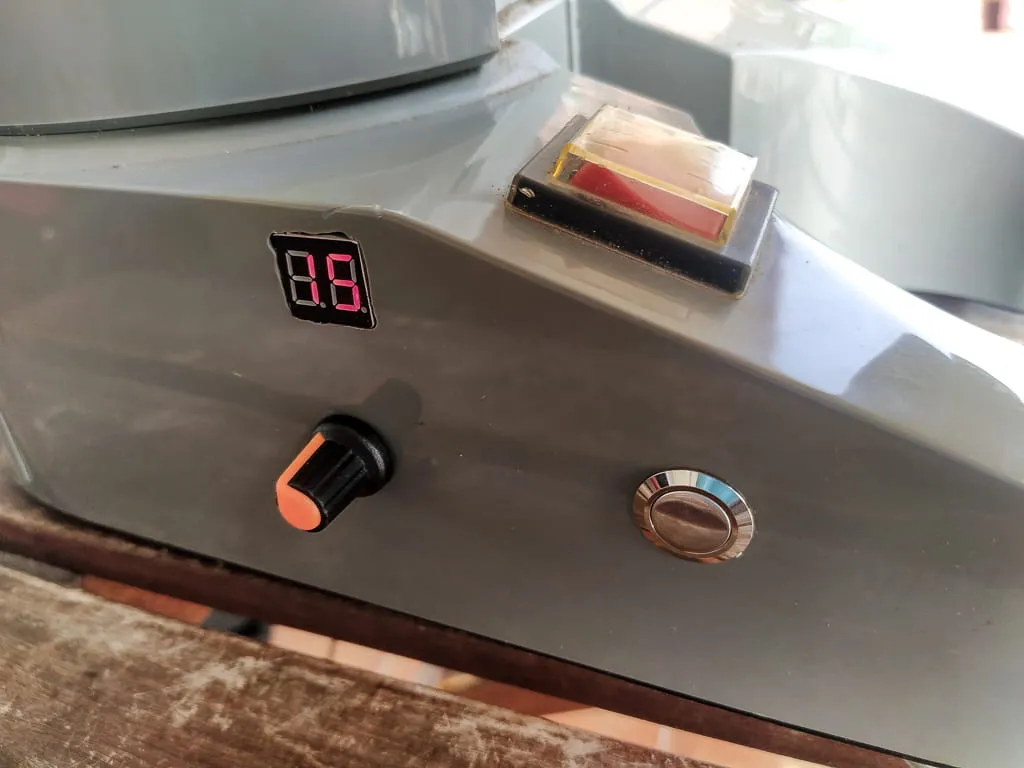
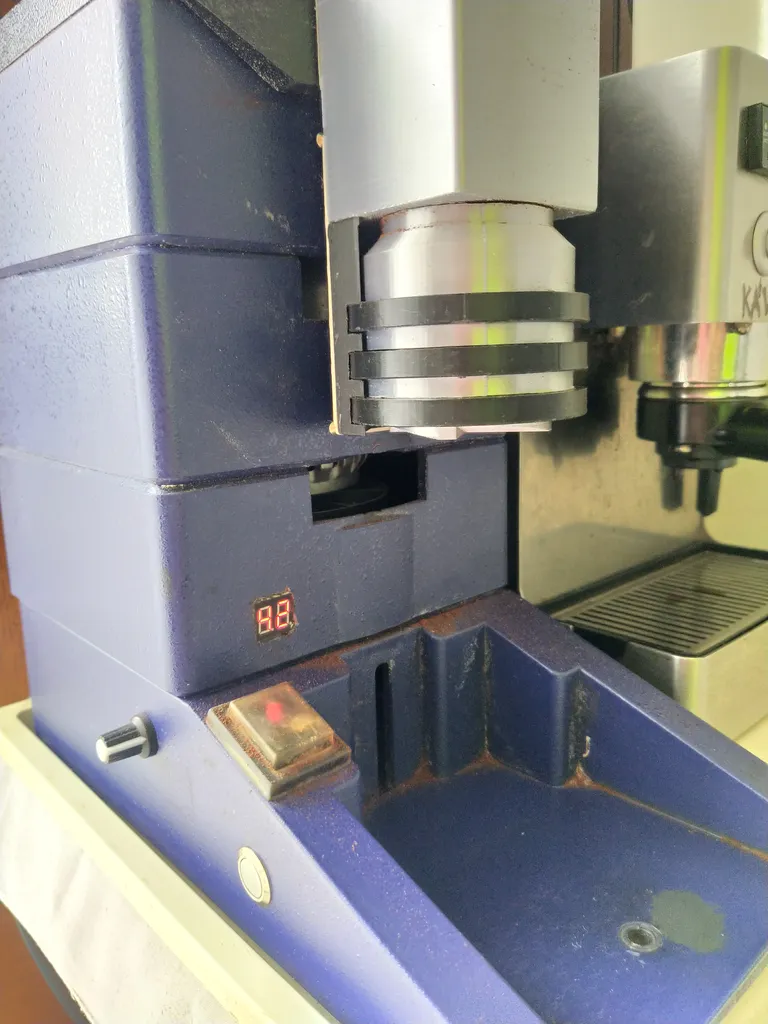
Grinding Timer
- Rewired the timer as the display and the time adjuster potentiometer came soldered to the PCB.

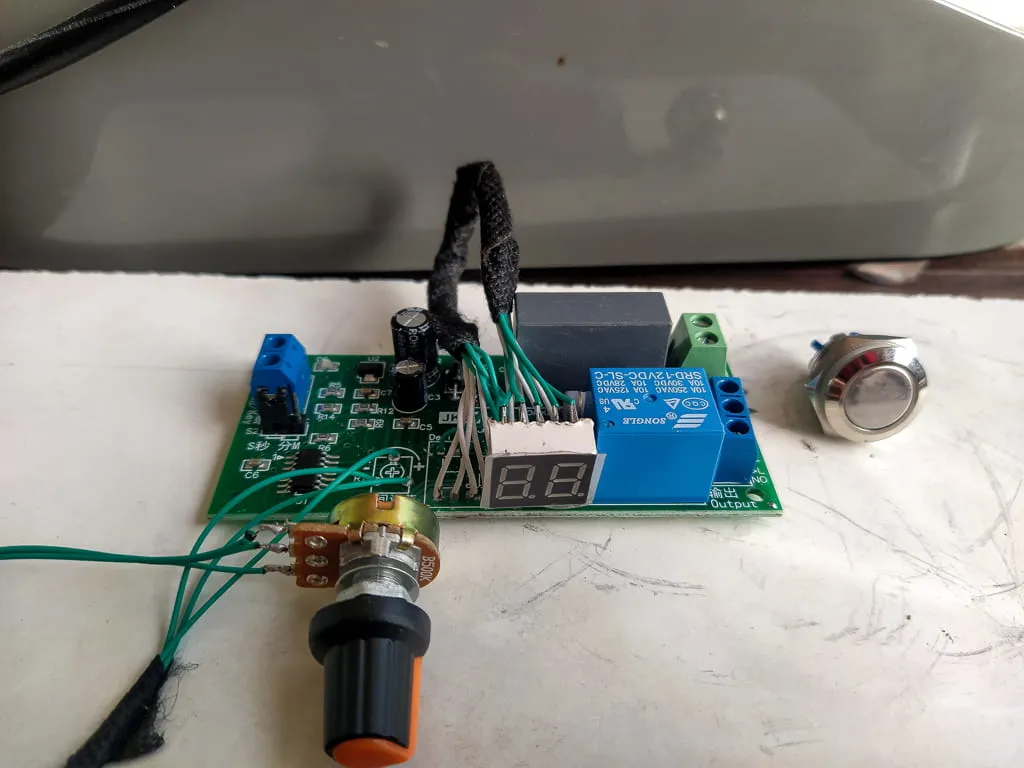
- Made the wiring nice and neat with a bit of tape. Also prepared the trigger button and its wire.
- Cut the holes on the grinder for the display, knob and trigger button. Cutting rectangles is harder than it looks.
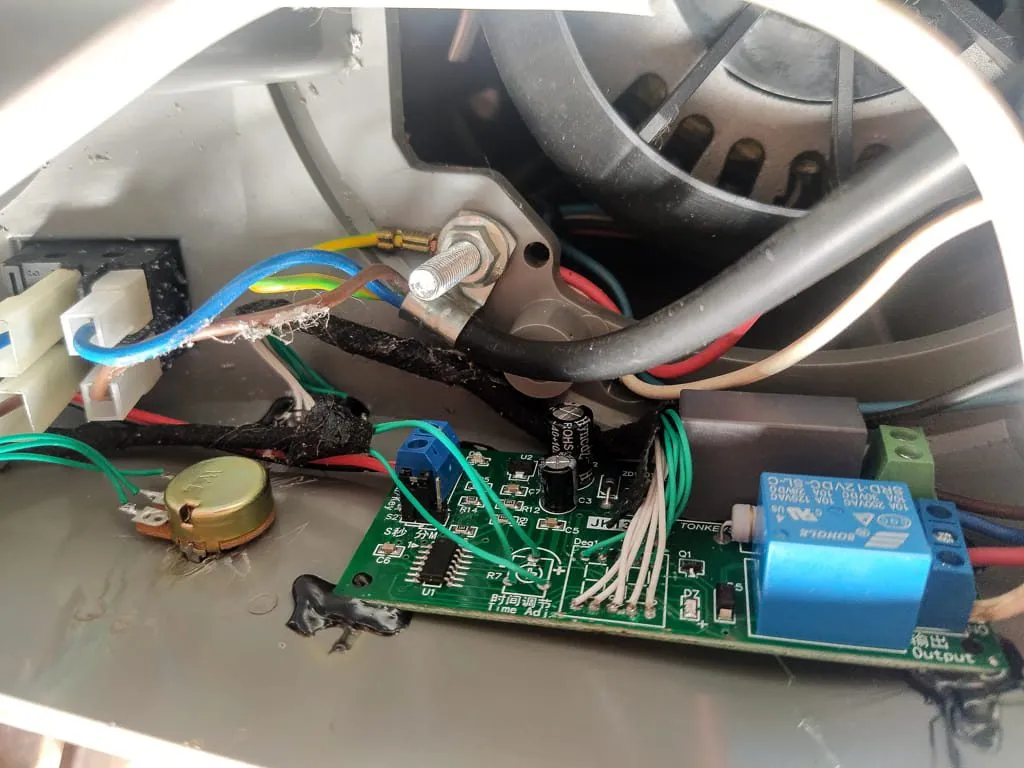
- Connected the wires then glued everything together with a hot glue gun. Sinking the potentiometer was the hardest bit as the threaded part just as long as the width of the plastic.
- The end results are pretty good. Practice makes it better.
- From a further view.

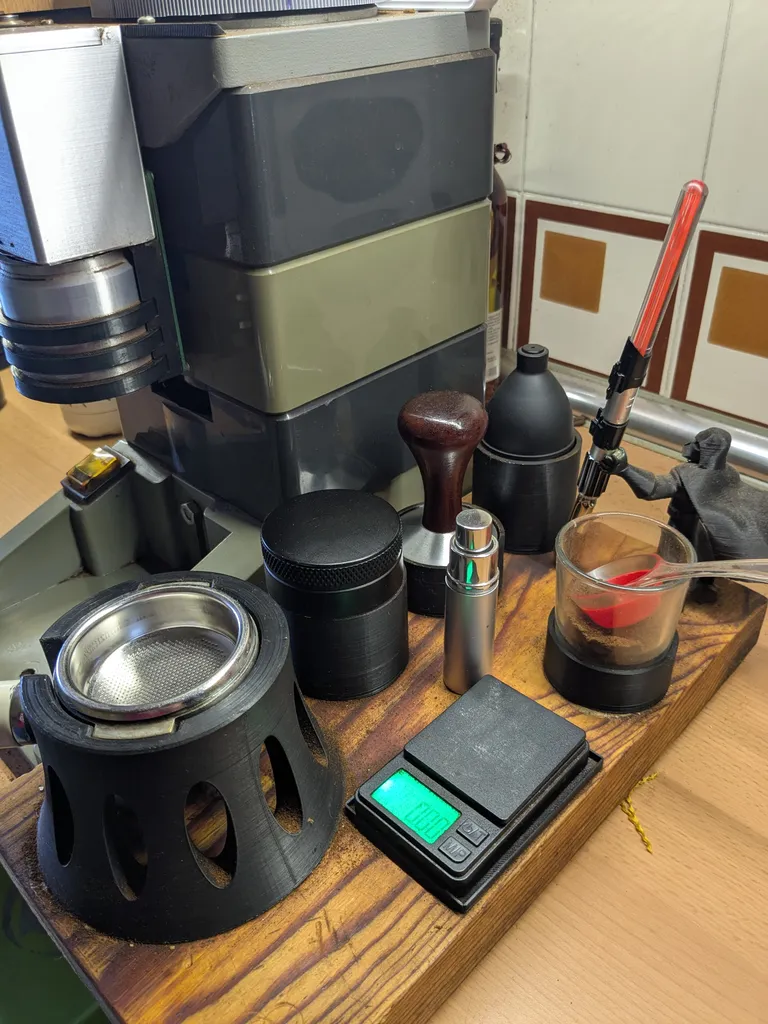
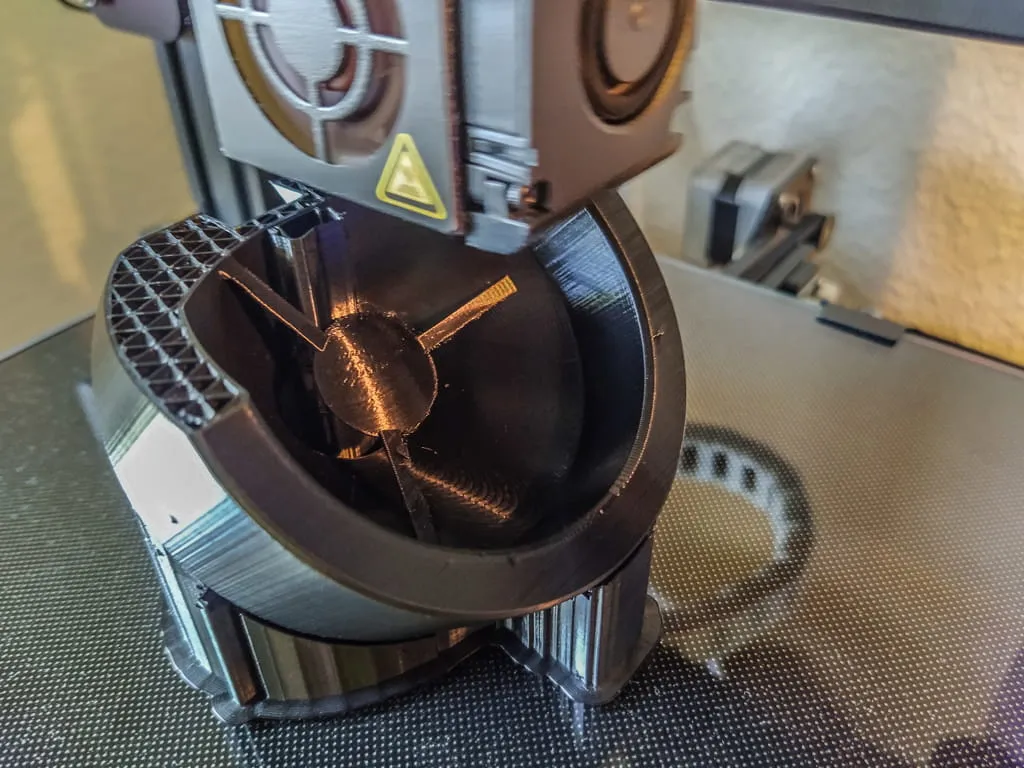
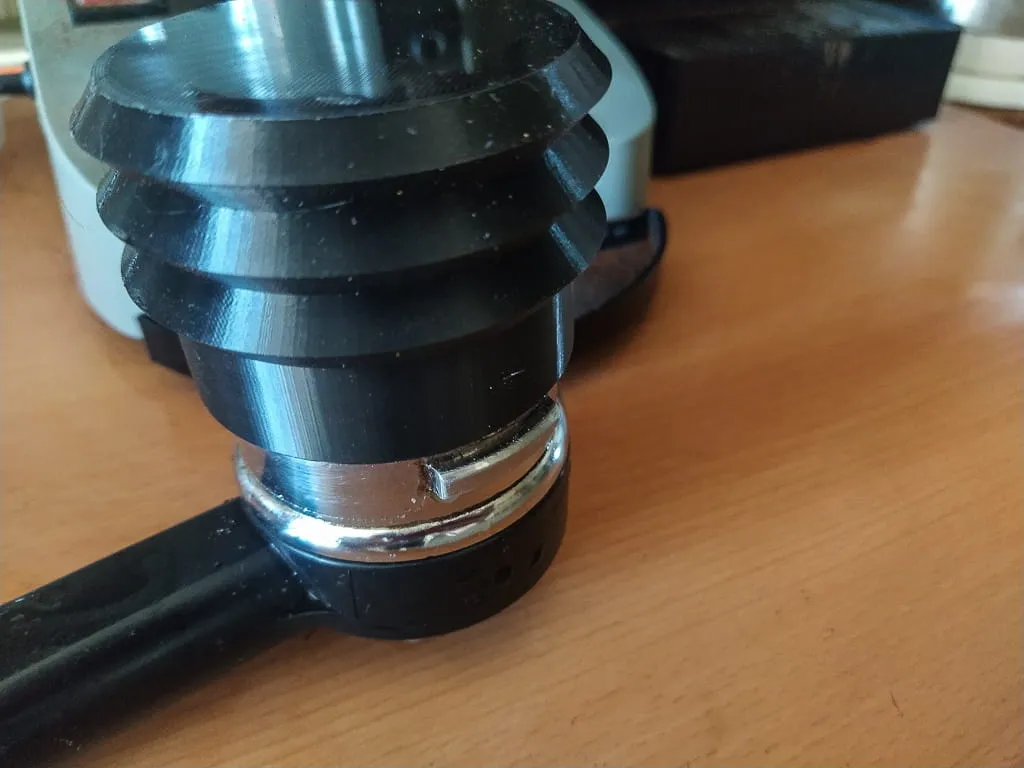
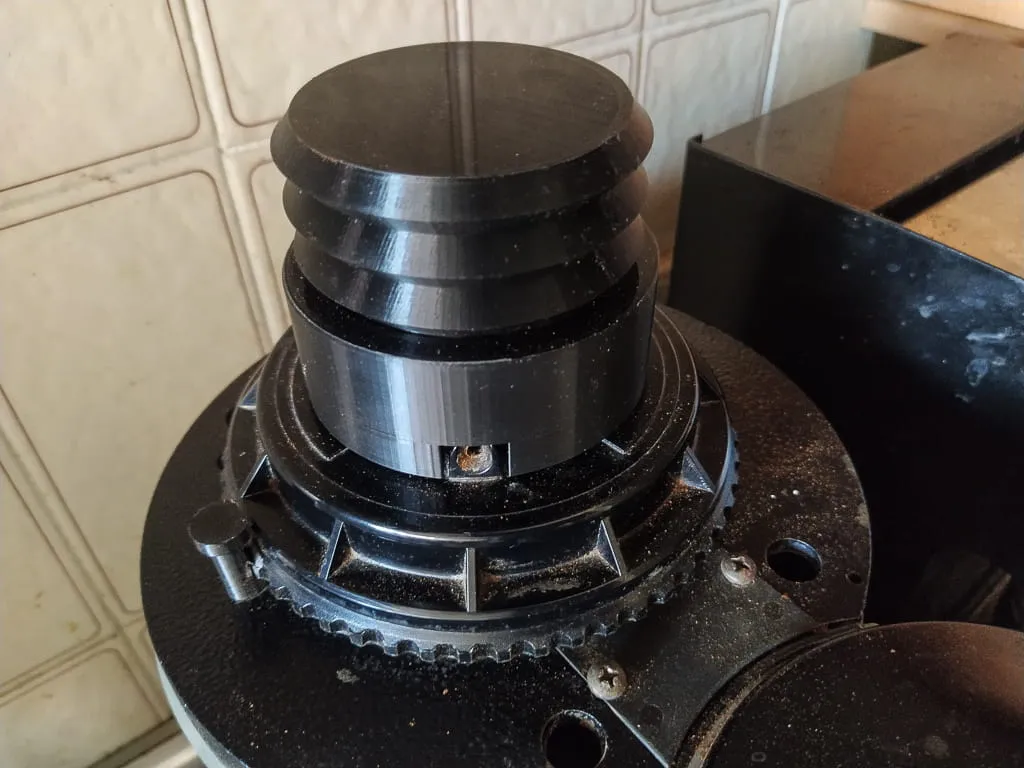
- Going deeper in the rabbit hole a 3d printer was brought into the game too. Printing a single dose hopper
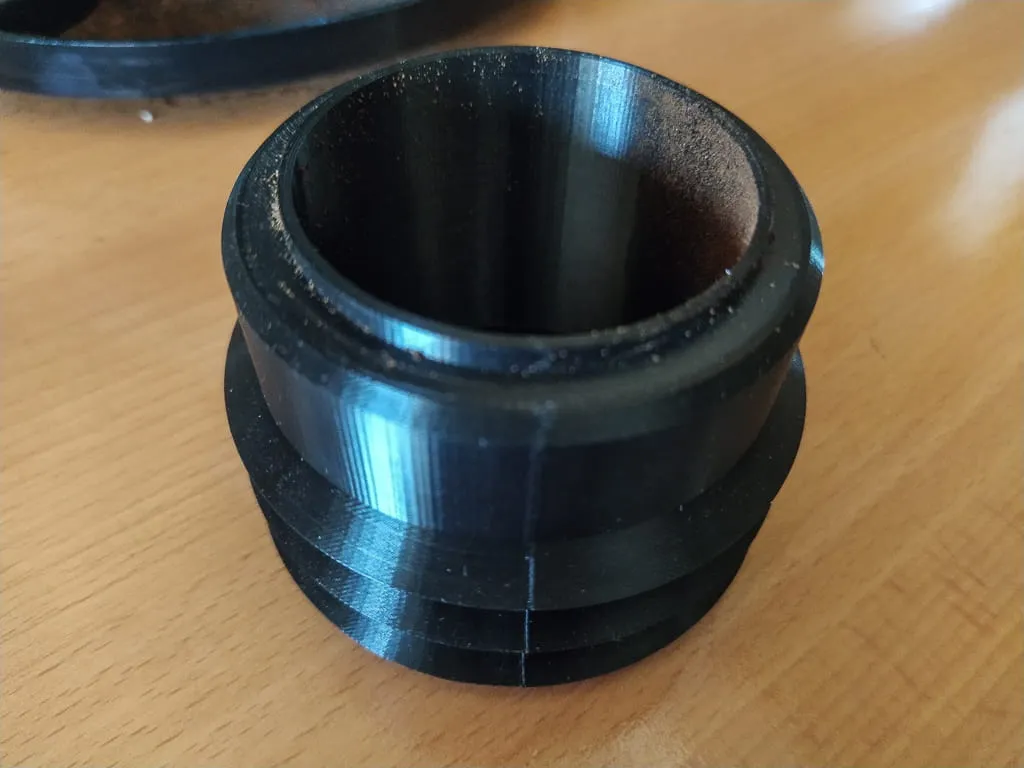
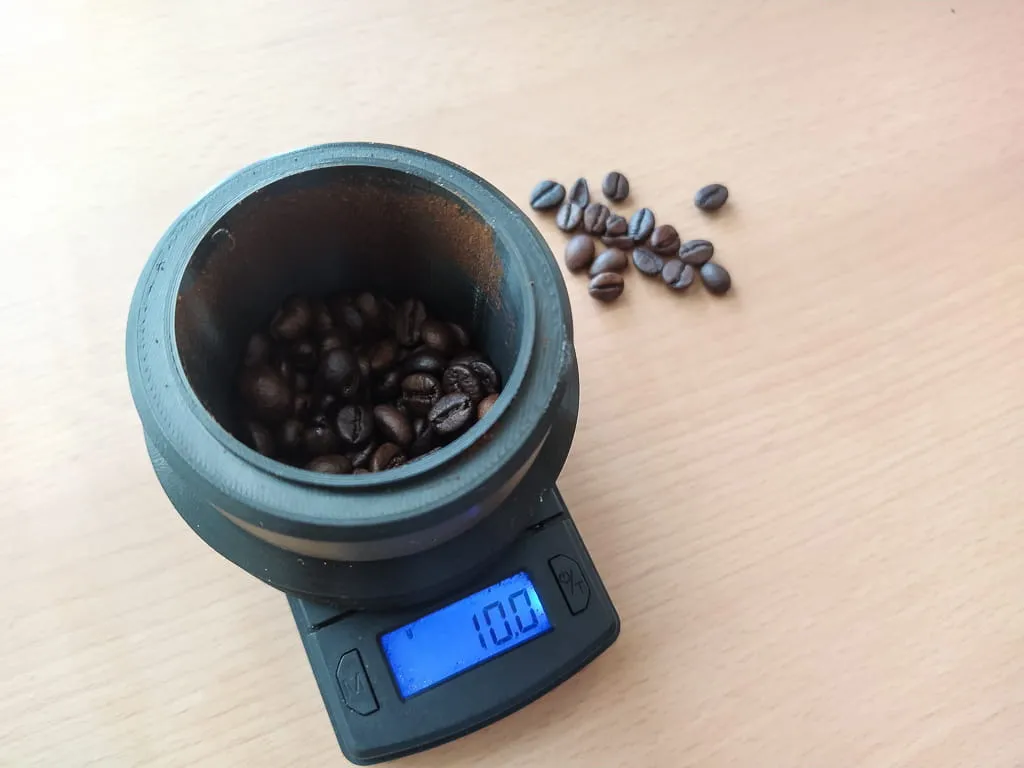
- And a single dose cup.
- It can be used to measure out coffee.
- The rim is designed for to fit for the Saeco Aroma portafilter or more recently the Gaggia La Nera coffee machine’s 58mm portafilter.
- It can also be used as a top to avoid unwanted items falling into grinder when not in use.
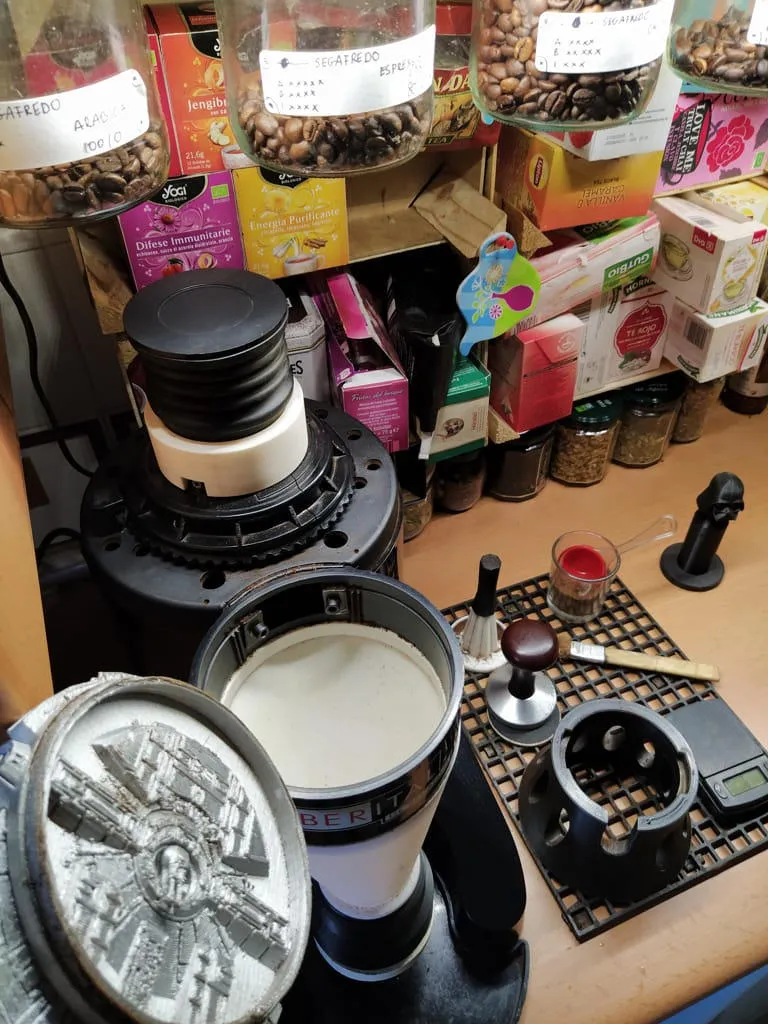
- And also to collect the ground coffee.
- A custom funnel was also made that attaches to the original plastic rim and metal backplate so the ground coffee can travel straight to the dosing cup.
- Further work under process for a better dosing cup holder.

- A silicon funnel was added so less ground coffee is left behind. A spring and piece of plastic was also glued to the base so the ground coffee holder can be left collecting the coffee on its own.
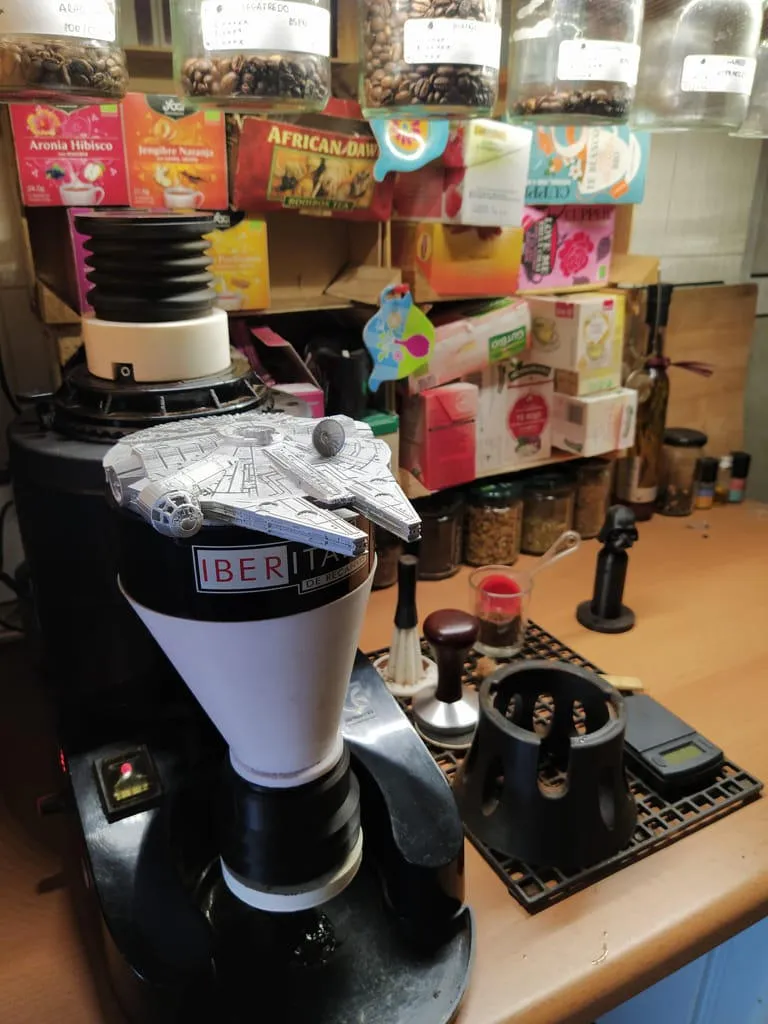
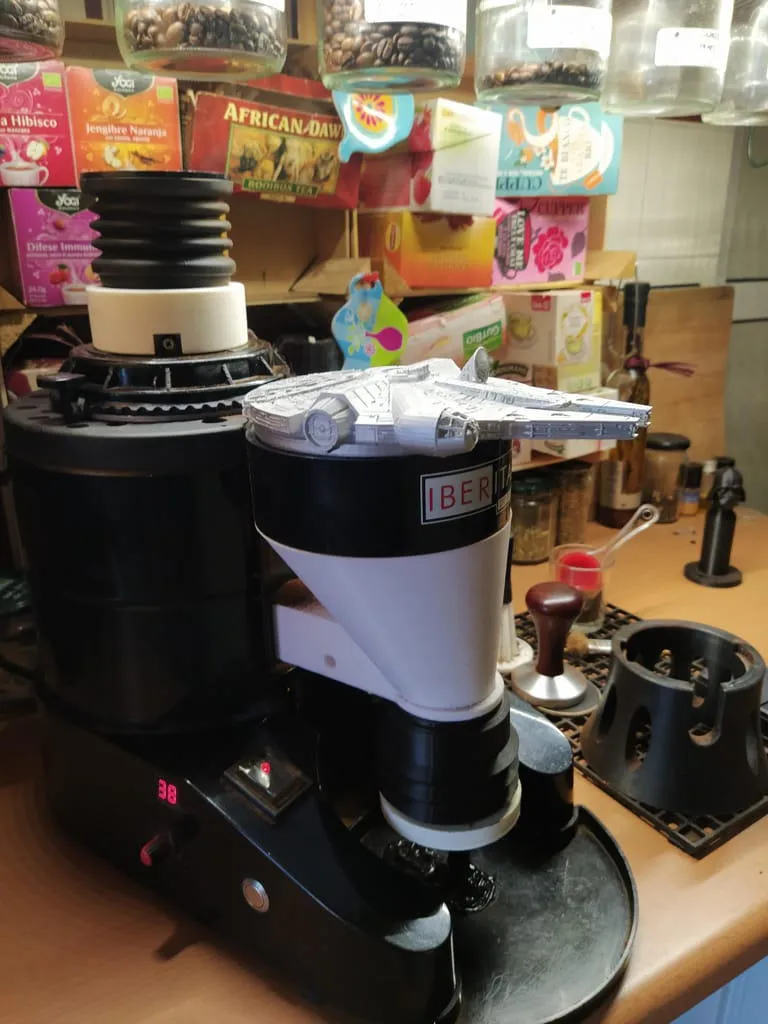
- Also the funnel was replaced with another more neatly printed. A Millenium Falcon merged top was also created to match with the Darth Vader temper also visible at the Gaggia La Nera coffee machine.

Beta Version – Cunill Space
Redesigned
- Funnel with a lid
- Ground coffee holder cup.
– Much smoother finish due to separately printed parts.
– Added ground coffee distributor to the bottom. - Ground-coffee-holder-cup holder.
– Rubber band applies pressure to the cup and holds it in its place.
Redesigned chute
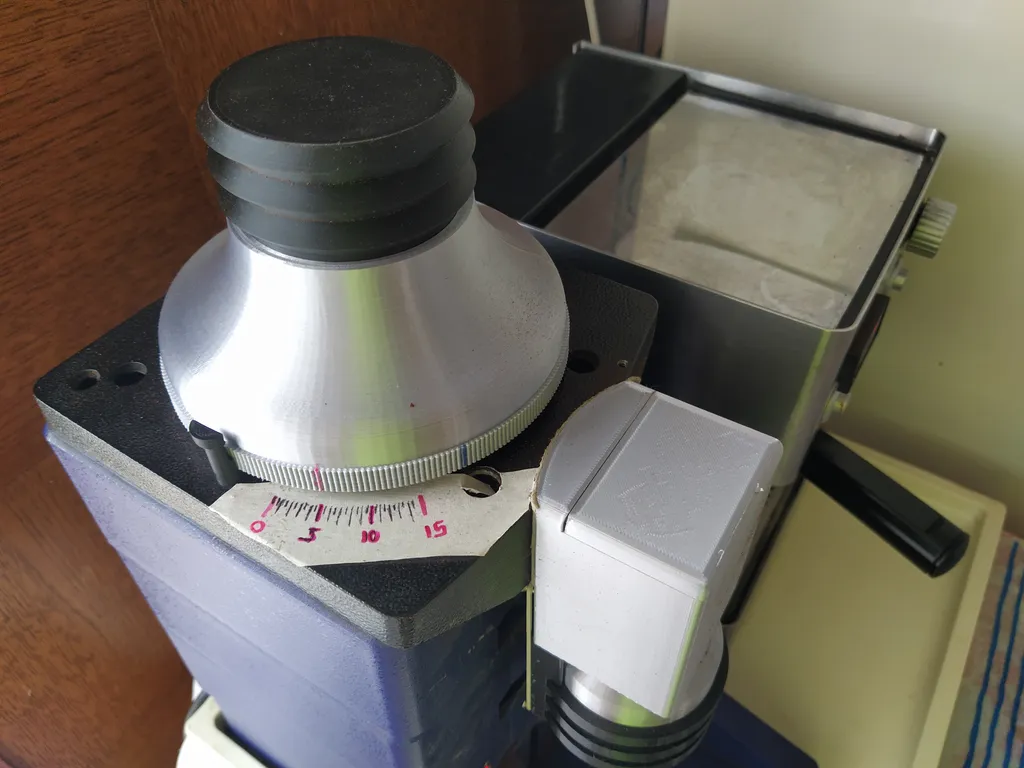
- The original chute and grinder selector was removed. The new part is bolted into the underlying metal plate.
- Grinder selector with 260 teeth which is almost 3 times more than the original design.
- The lid of the funnel is removable.
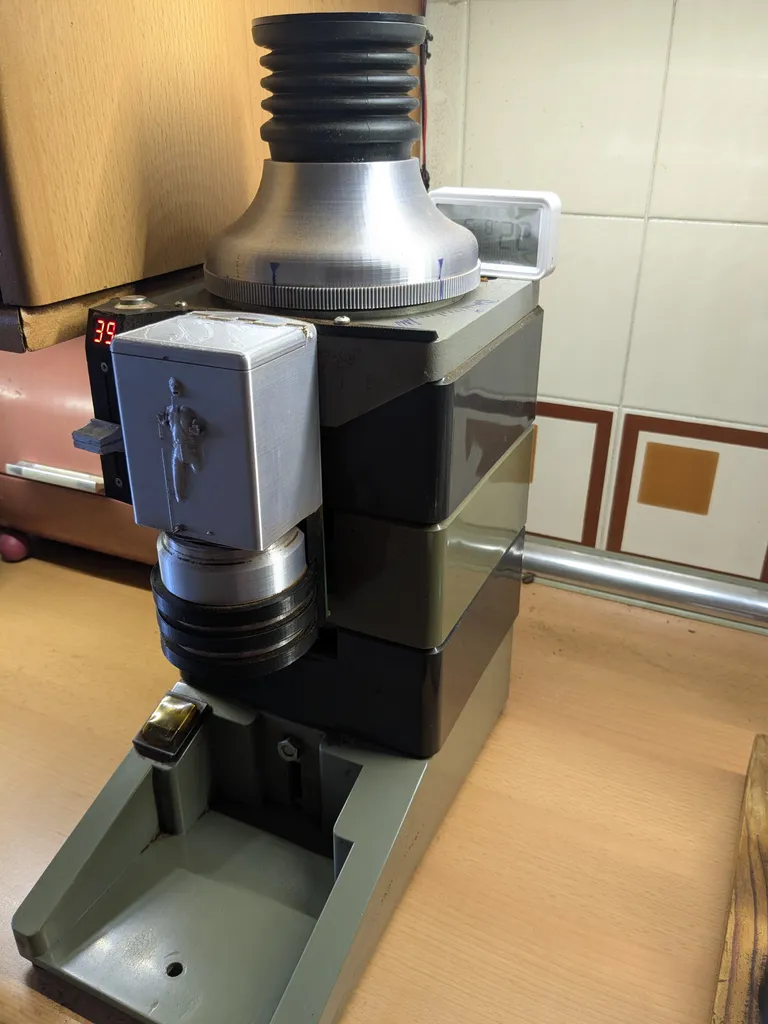
Current Version – Cunill Space
The same timer module and wiring was used as before with the exception of using a different potentiometer. The starter button also was moved to the top.
The cup (ground coffee holder) was redesigned to snugly fit the 58mm portafilter but still perfectly fits the chute.
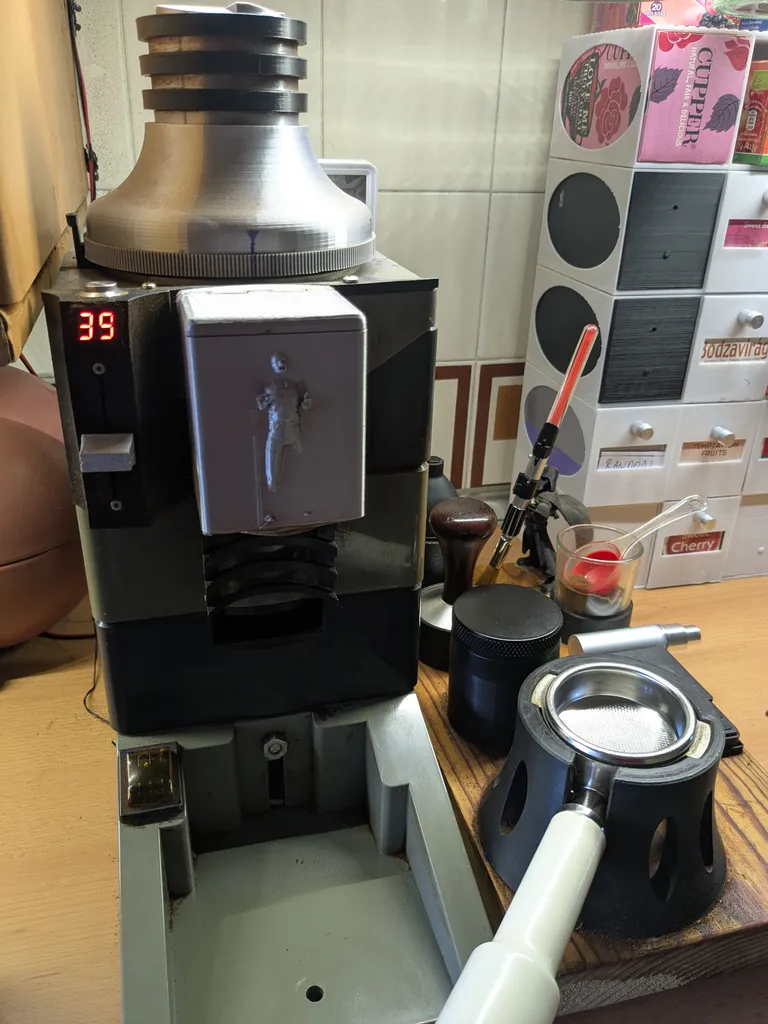
Also the ground coffee funnel was redesigned with a non-removable flip lid and a Han Solo carbonite design.
The tamper station went through a couple of iteration until it found its present form.
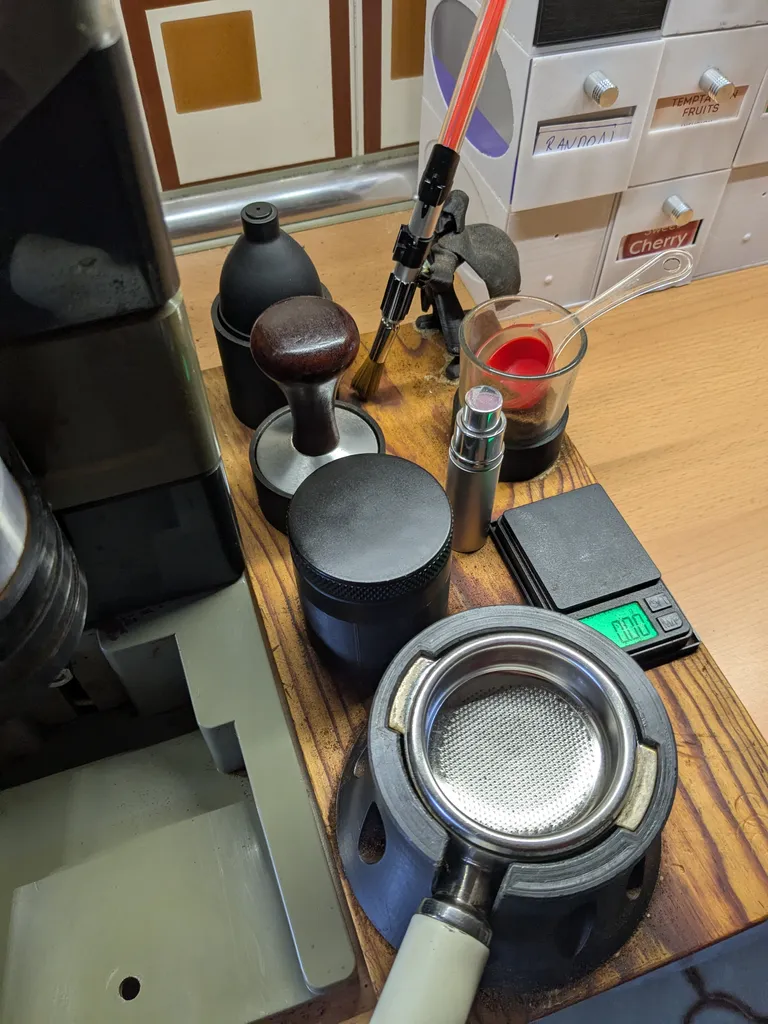
Yes, Darth Vader holds a brush which is a red light saber. It’s attached there with magnets. The rest speaks for itself probably.