The beginning
The boiler was a bit dirty but it was nothing compared to what came next.
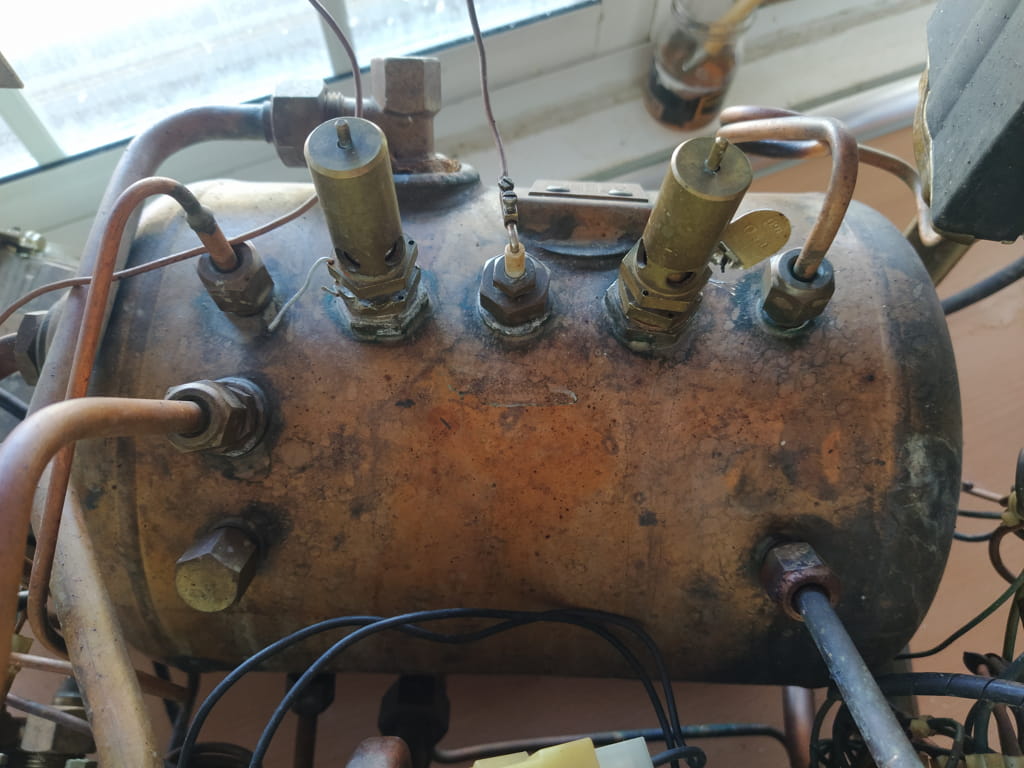
The water level probe has a nice layer of limescale ready to come off.
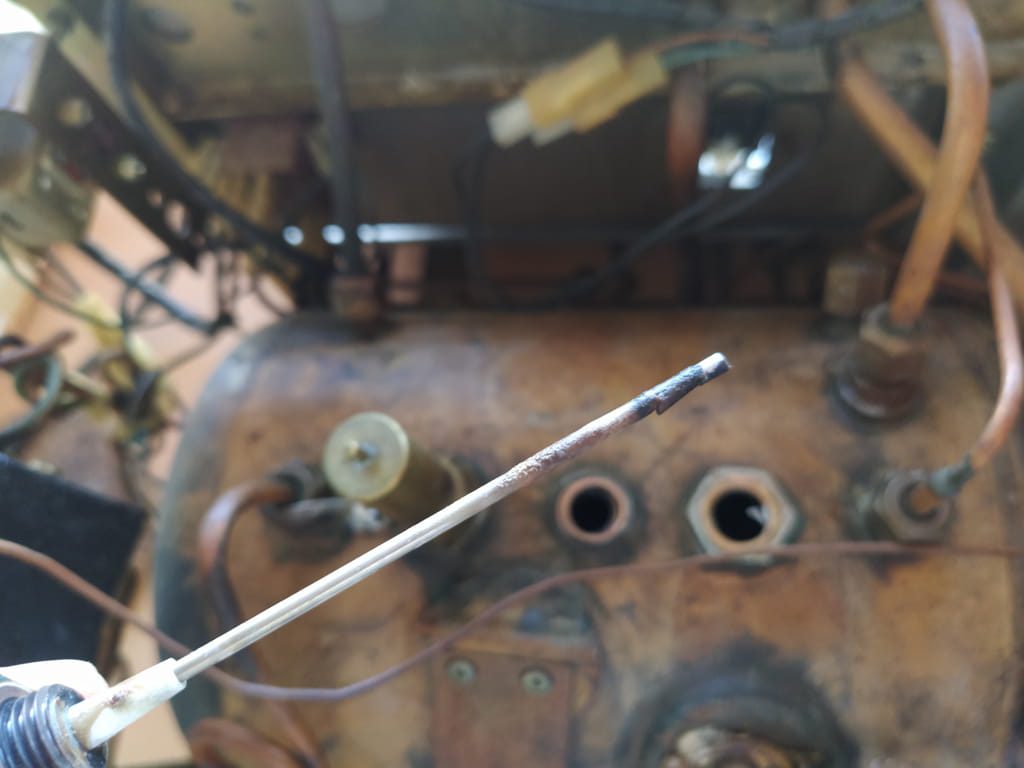
That screw head down at the bottom should have come out with its whole body intact. Apparently metal screws have a tendency to oxidize then break when coupled with brass water leaking boilers.
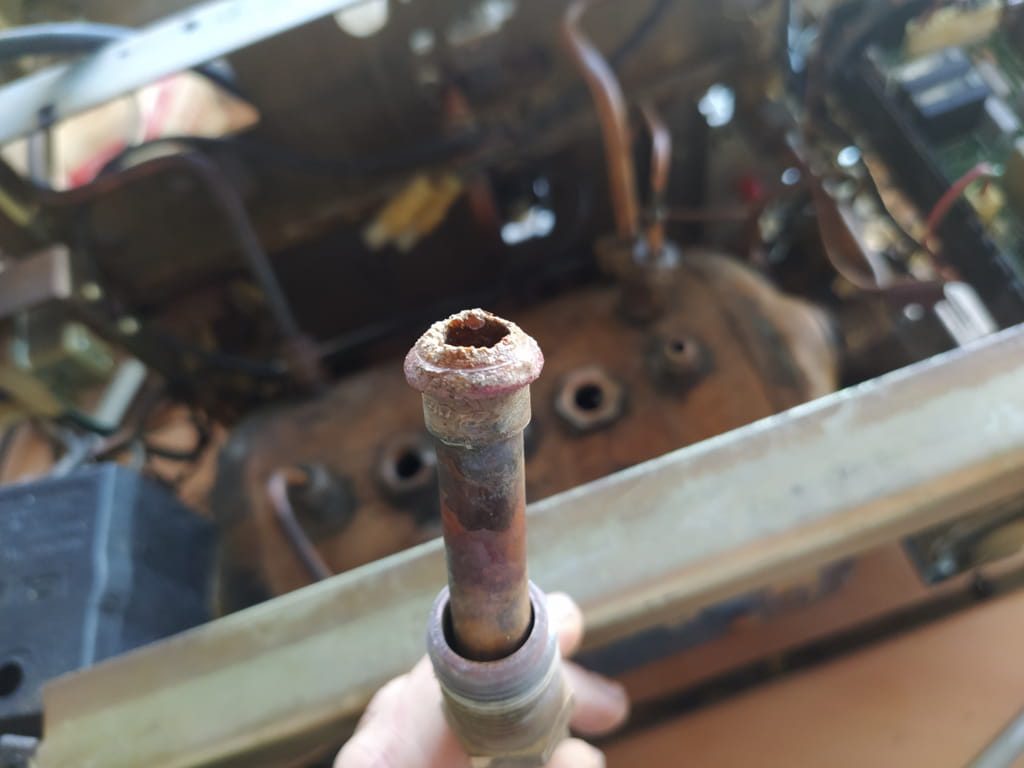
Lovely looking limescale on the tube connecting the boiler with the group head too.
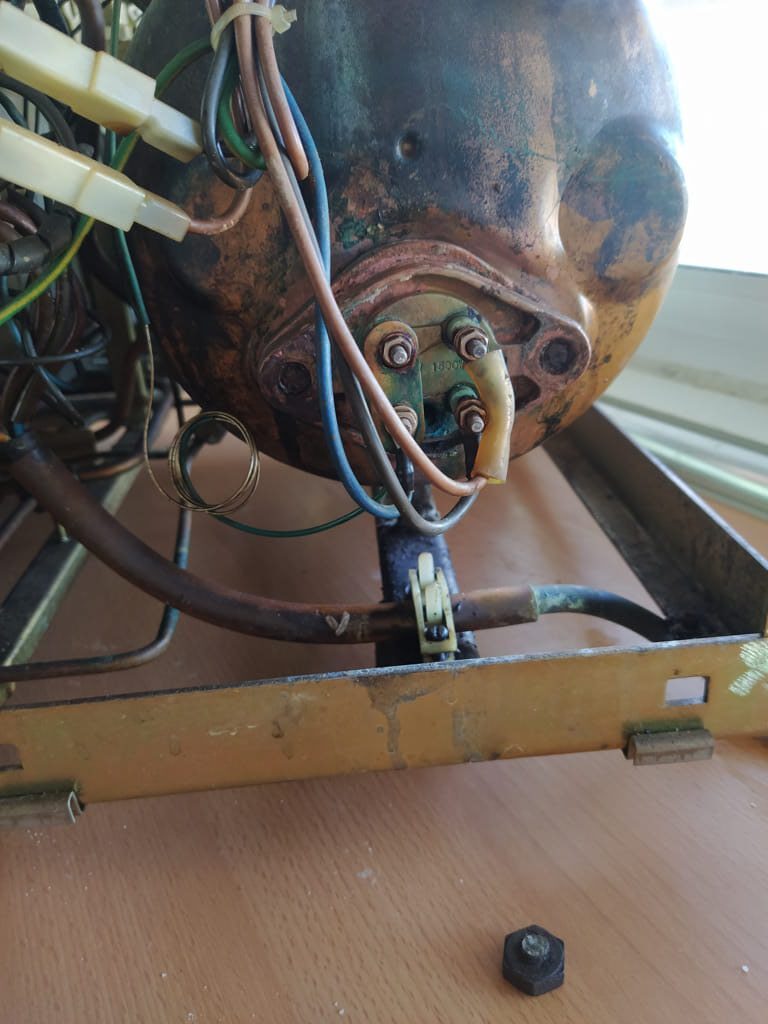
The frame without the boiler. Although it looks fine it also has a yellowish hue…
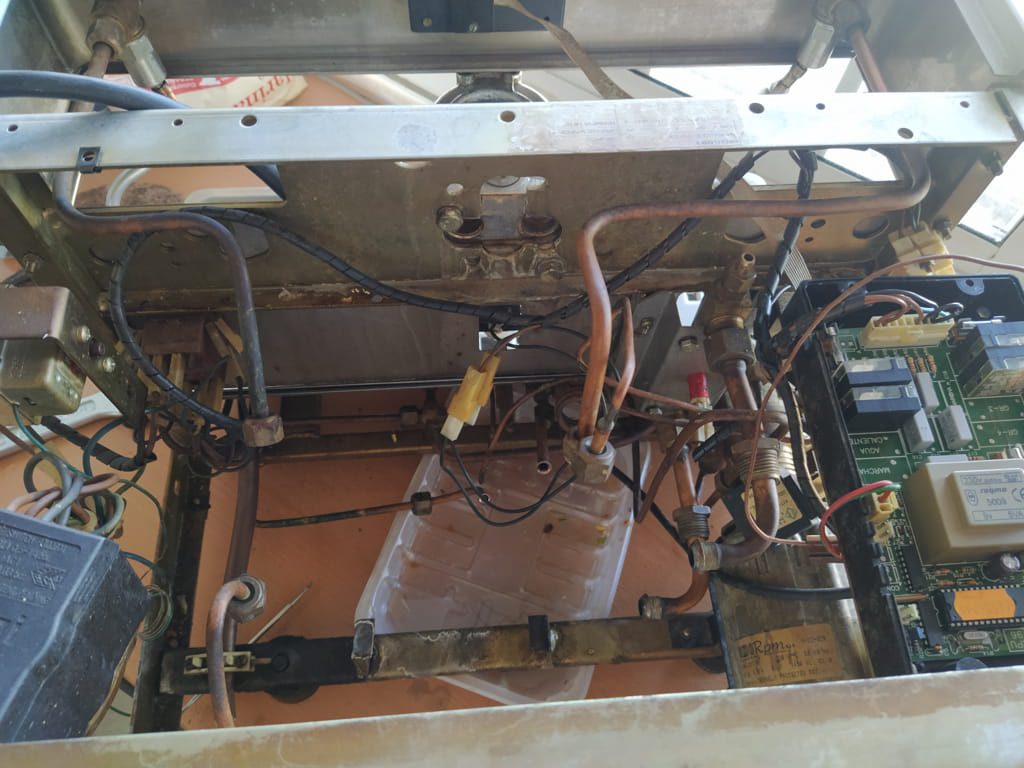
The group head gasket is a bit off too.
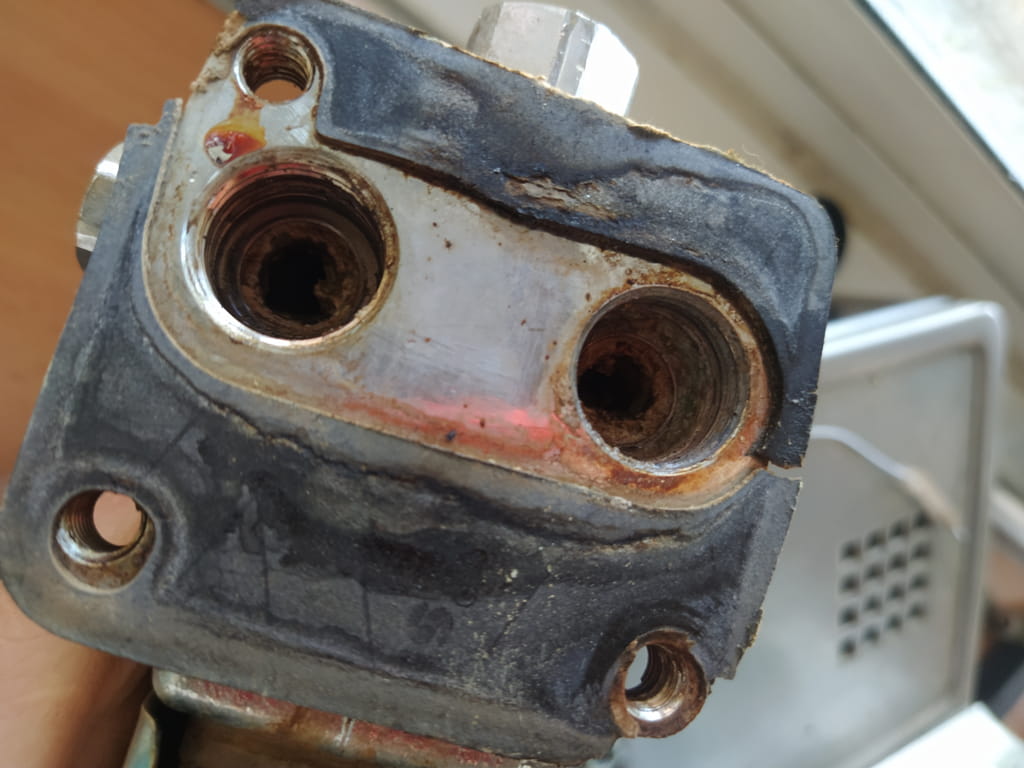
Another tube that looks rather strange…
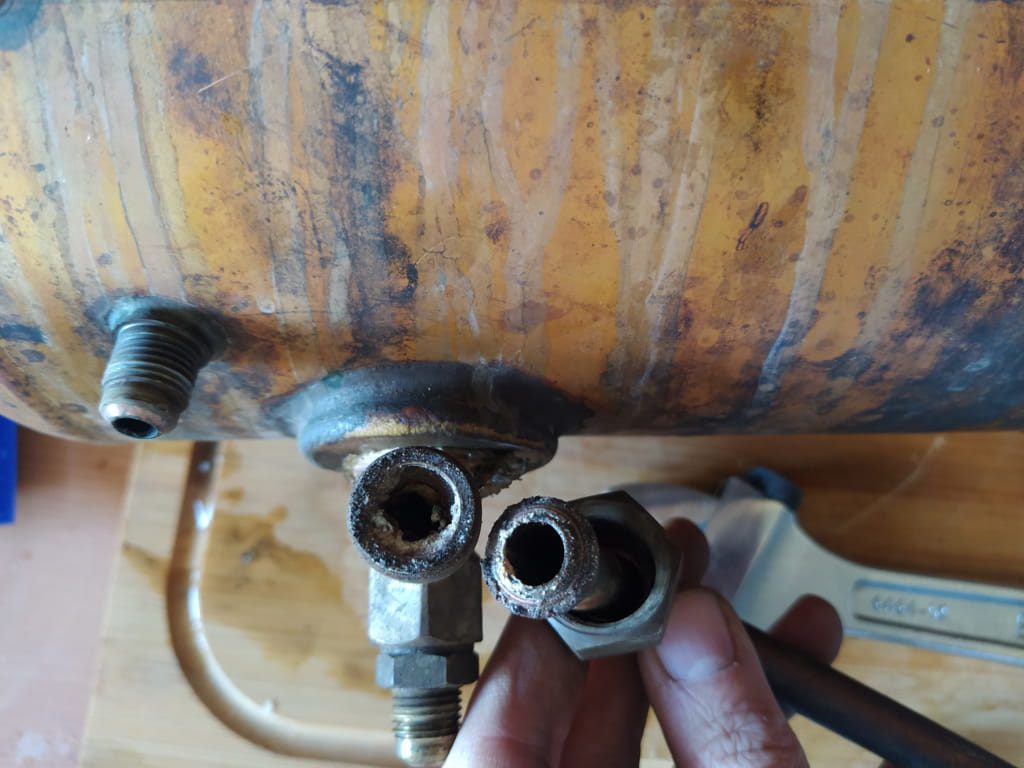
The purgatory
It took some effort and a blowtorch to take the bolts out. Luckily the boiler survived the ordeal without cracking.
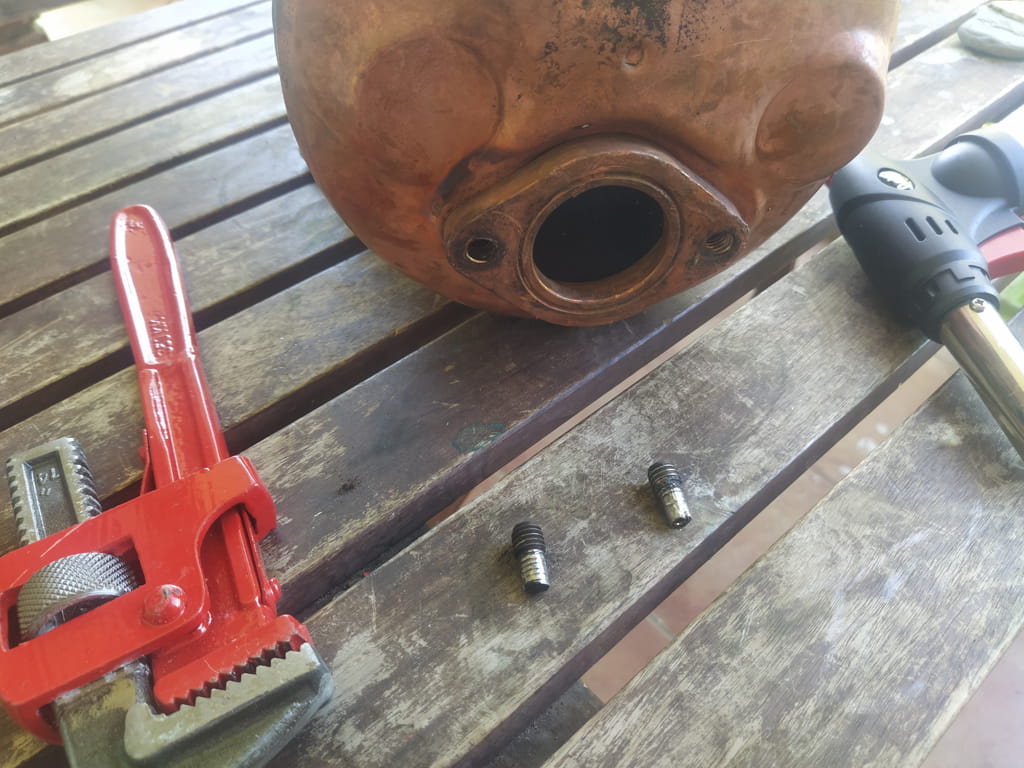
Now came a refreshing week long vinegar bath paired with a burring water pump to flush out the bits and bobs.
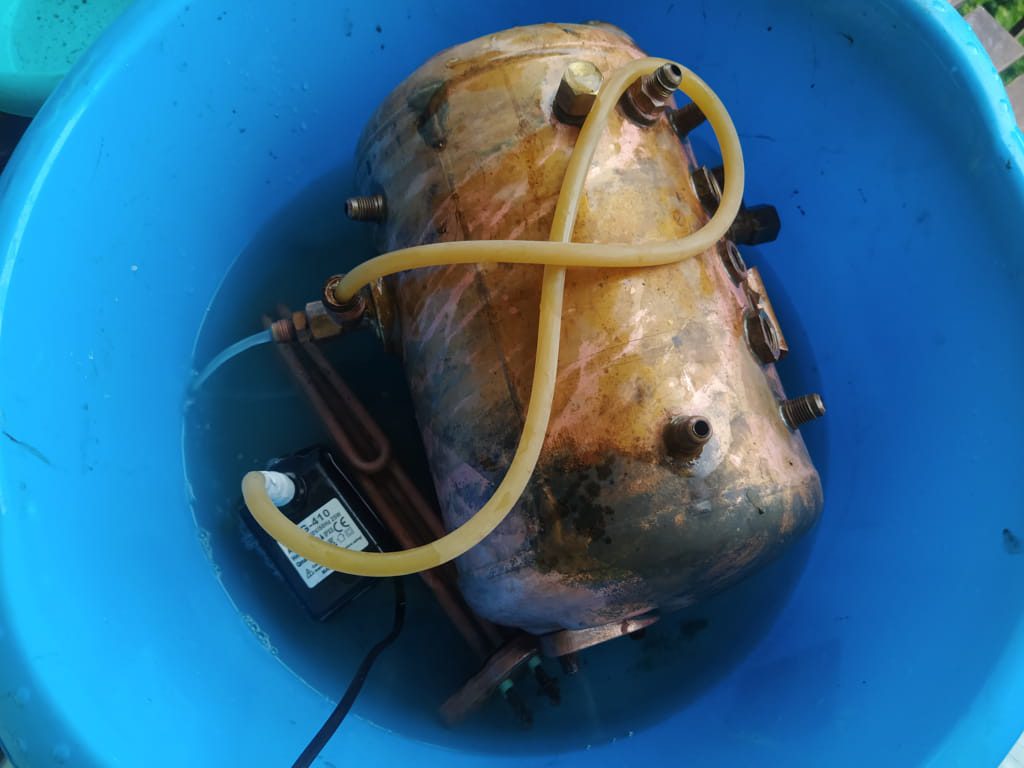
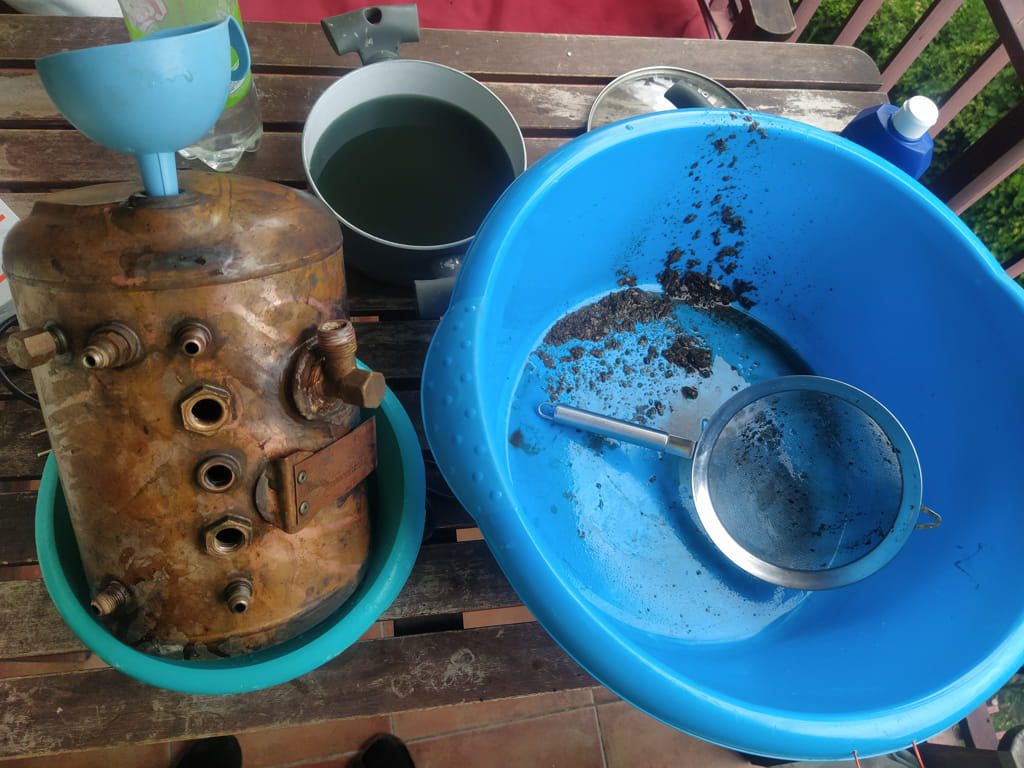
That gunk and blackish liquid was all in there.
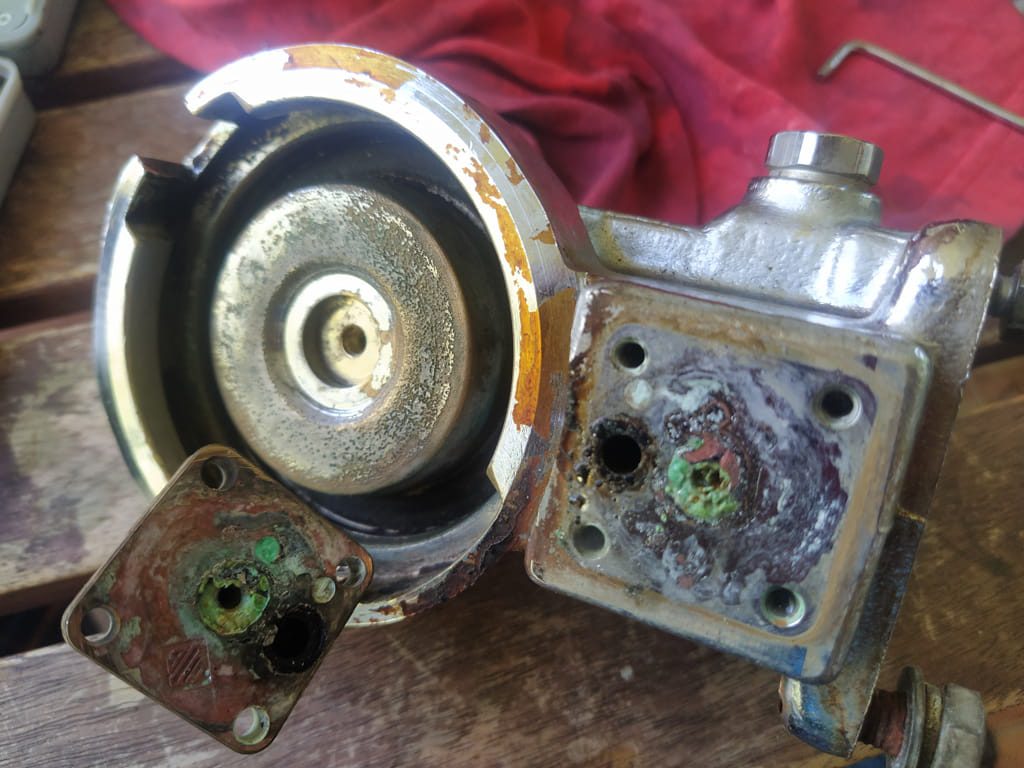
That green thing in the group head turned out to be a gasket.
Group head flushing.
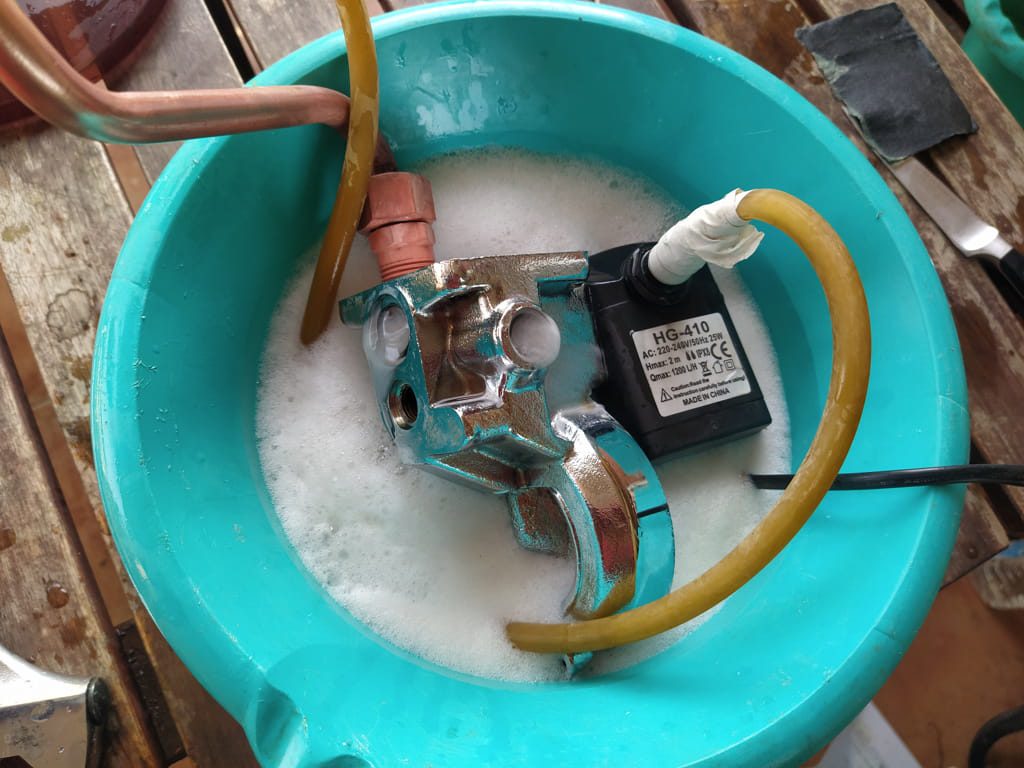
Yeah, the motor should have been taken out too…
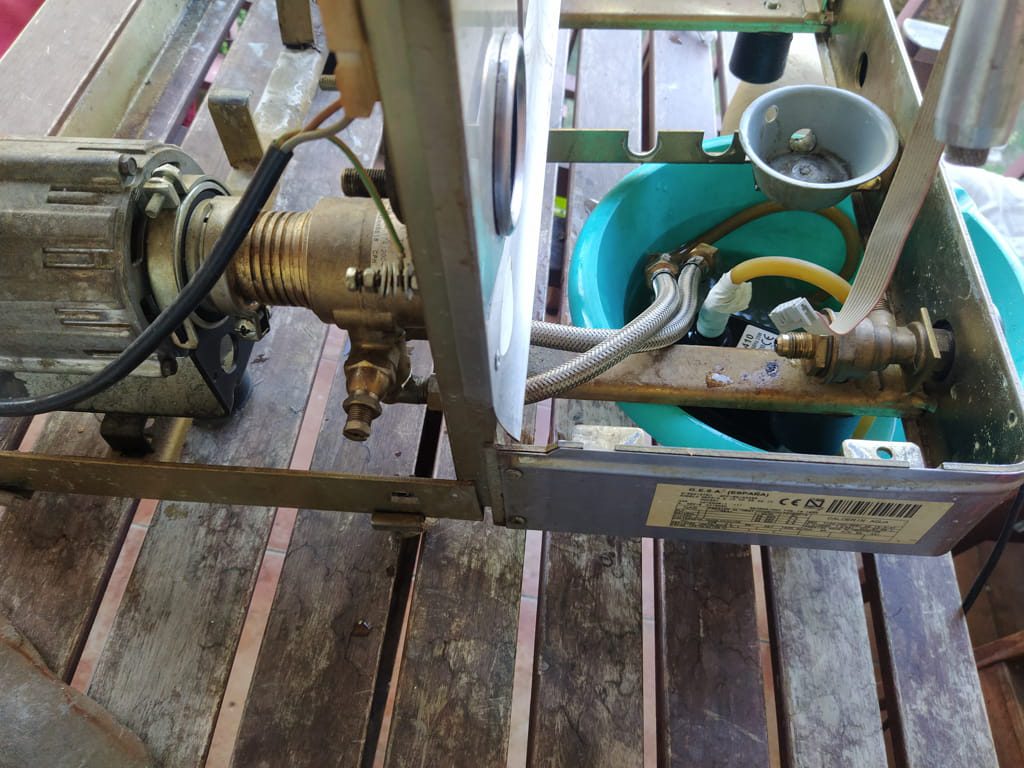
Tubes needs a bath too.
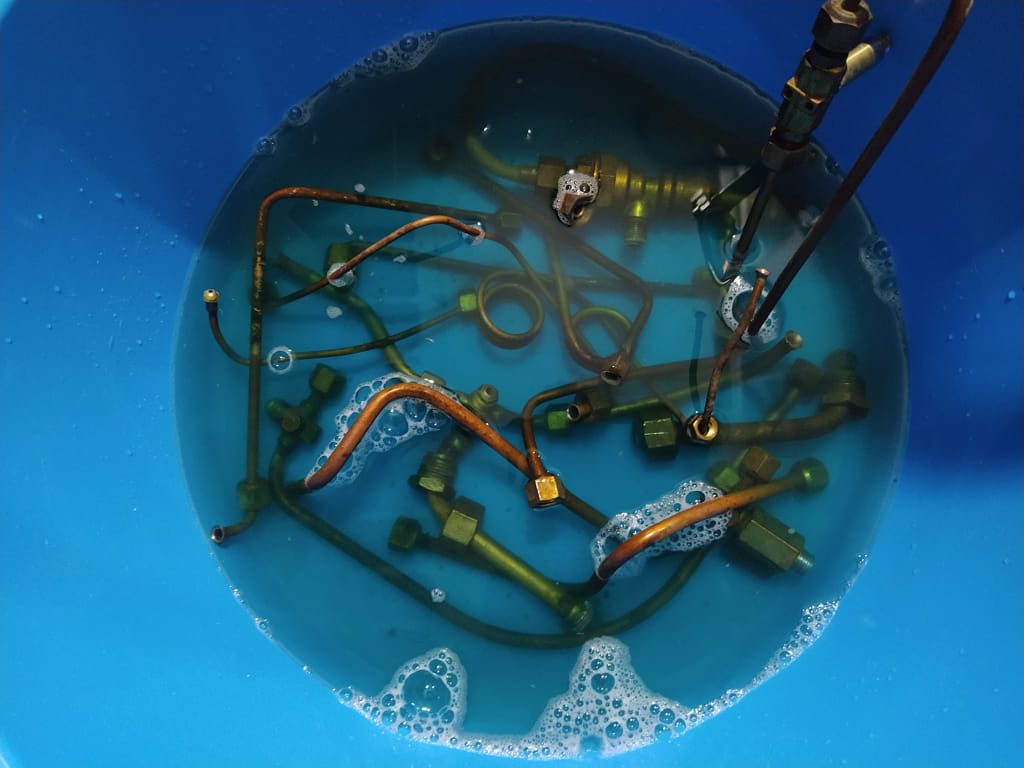
Ready to shine
So it turned out that yellowish hue was residues from smoking.
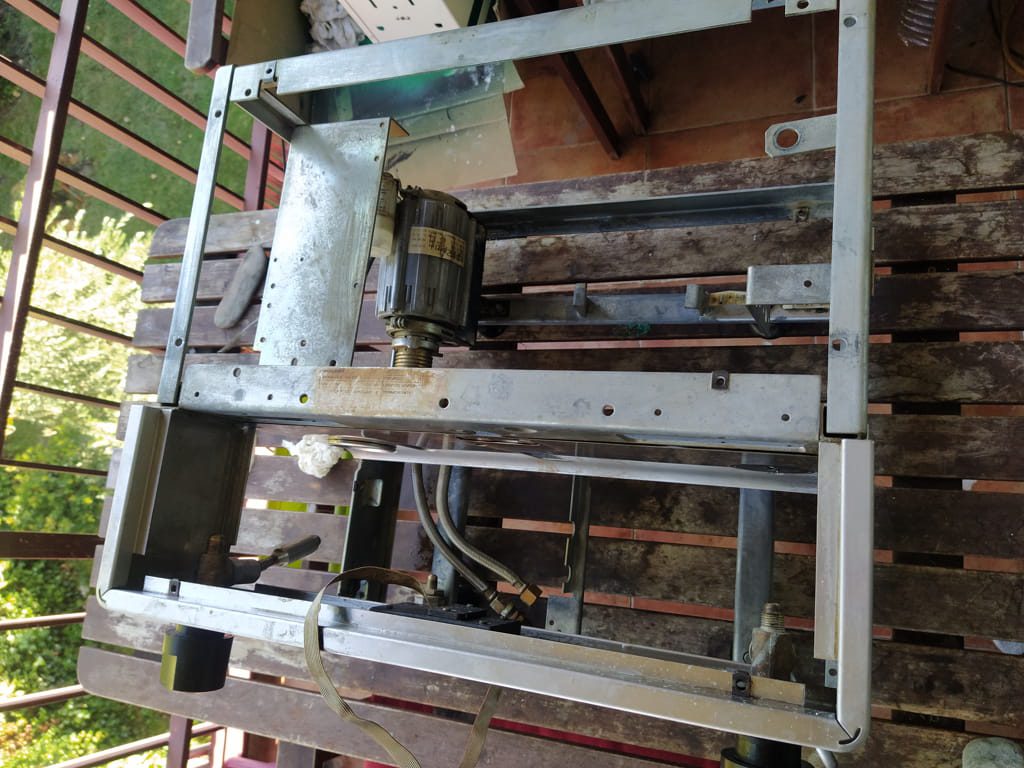
Getting there.
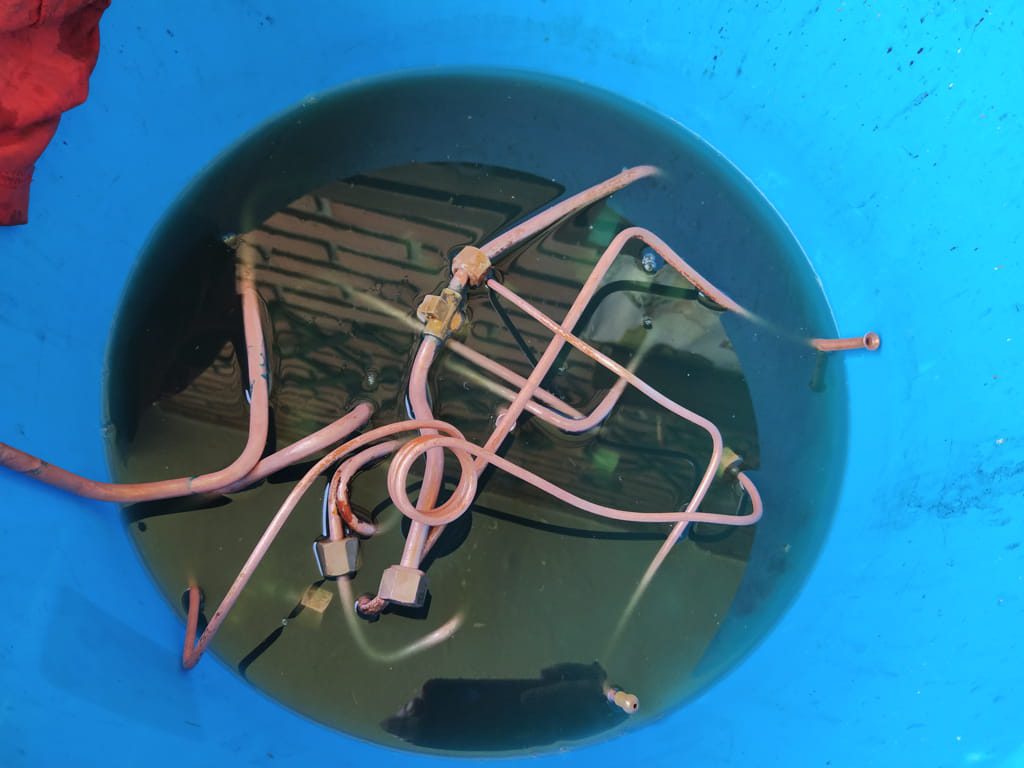
A bit of polishing could do wonders.
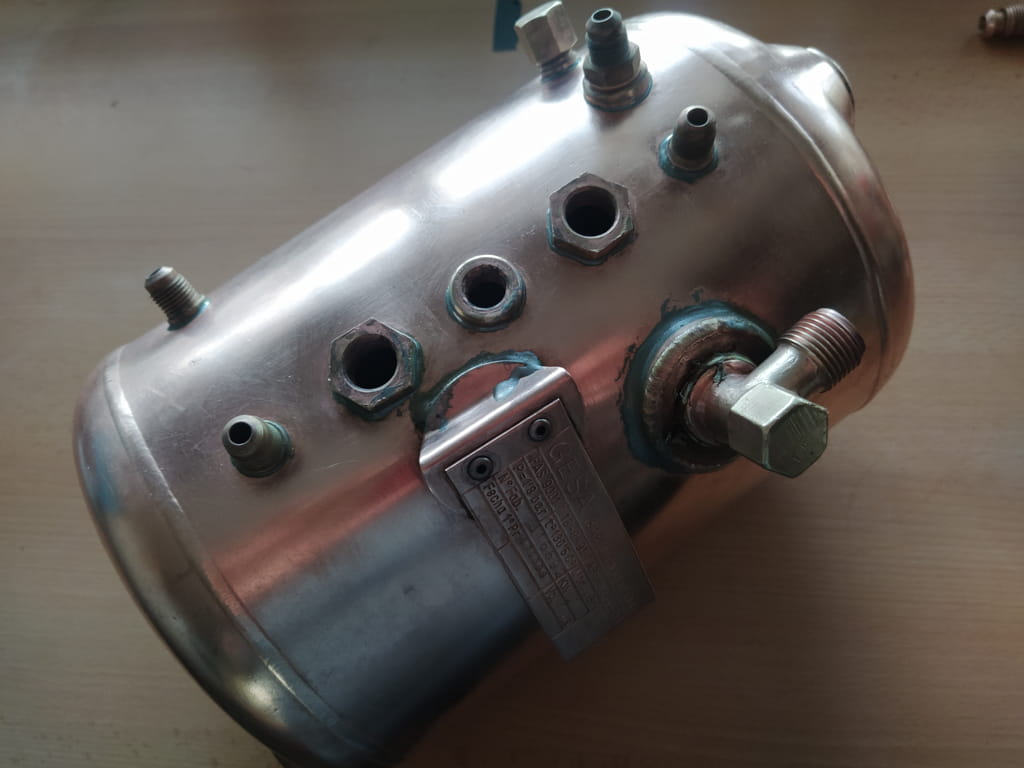
It’s a pity no one will see it inside the machine.
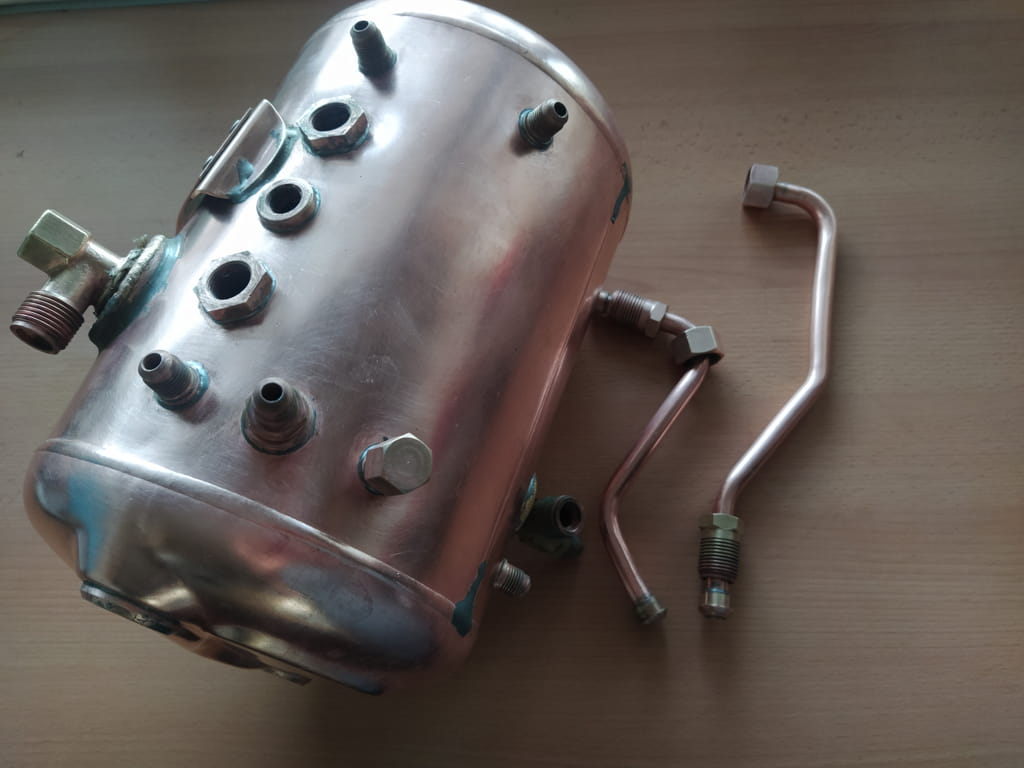
It still looks like on the photos.
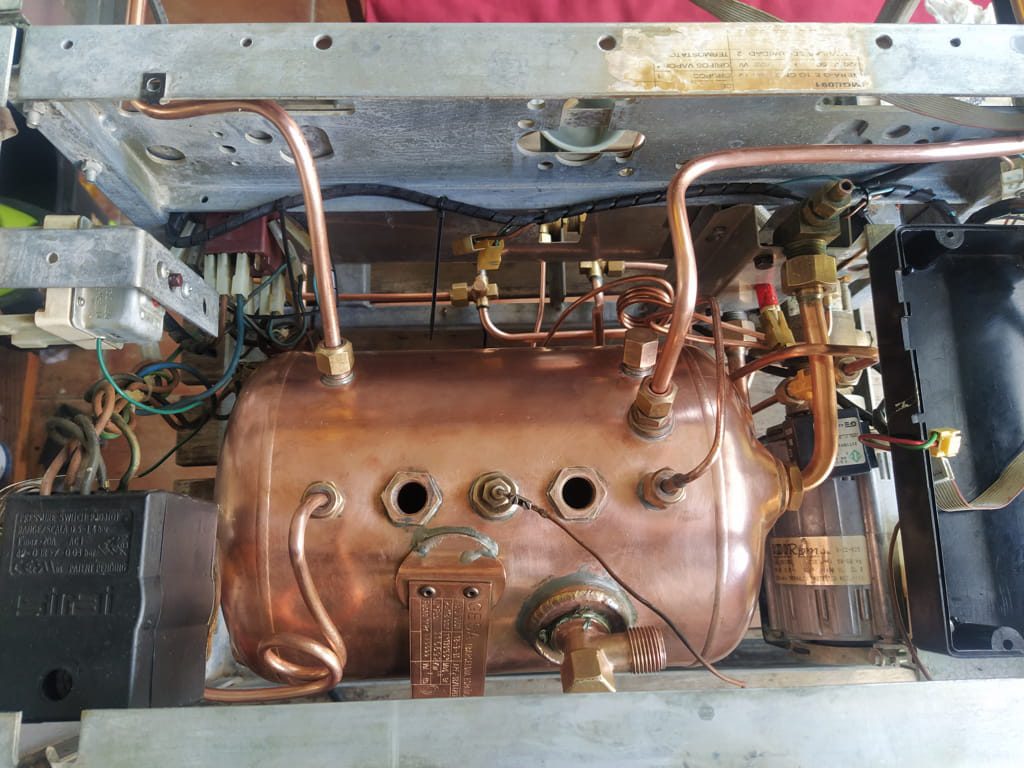
A couple of extras
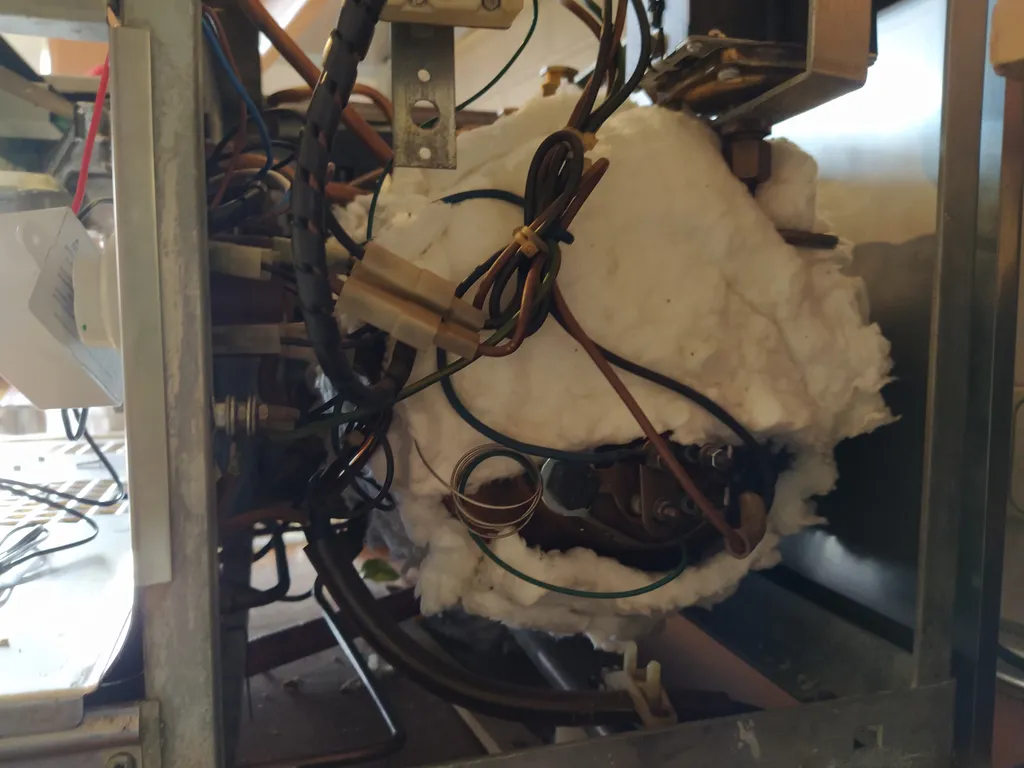
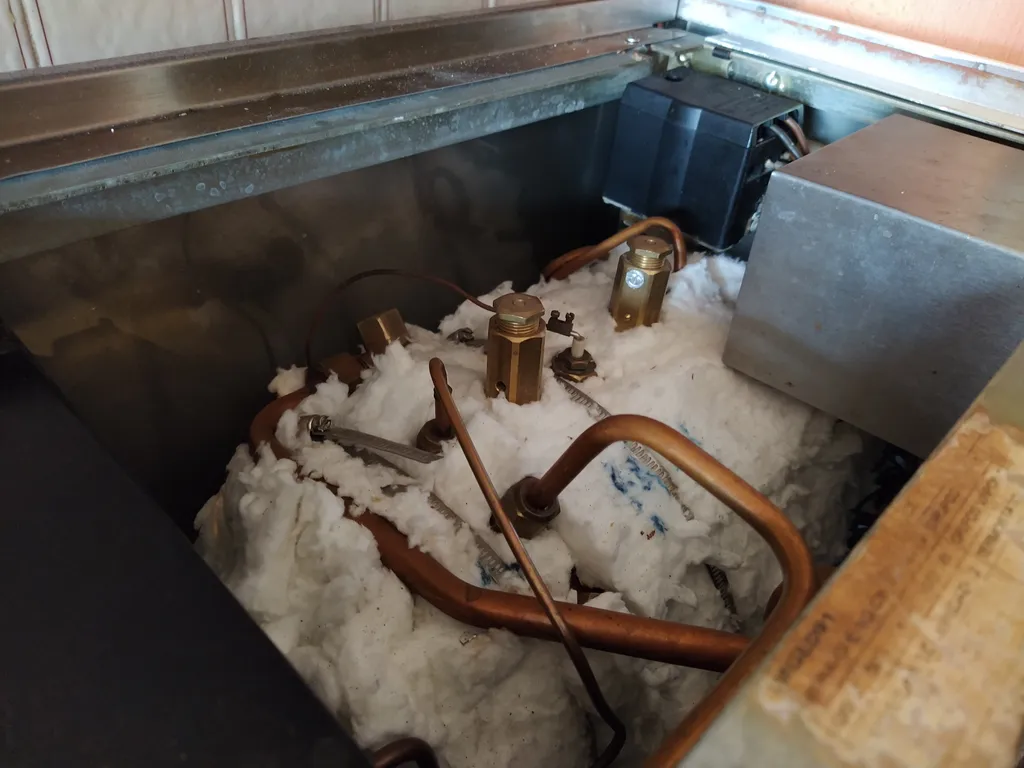
The boiler got some insulation.
Then a shot timer got installed so whenever the pump turns on the timer starts too.
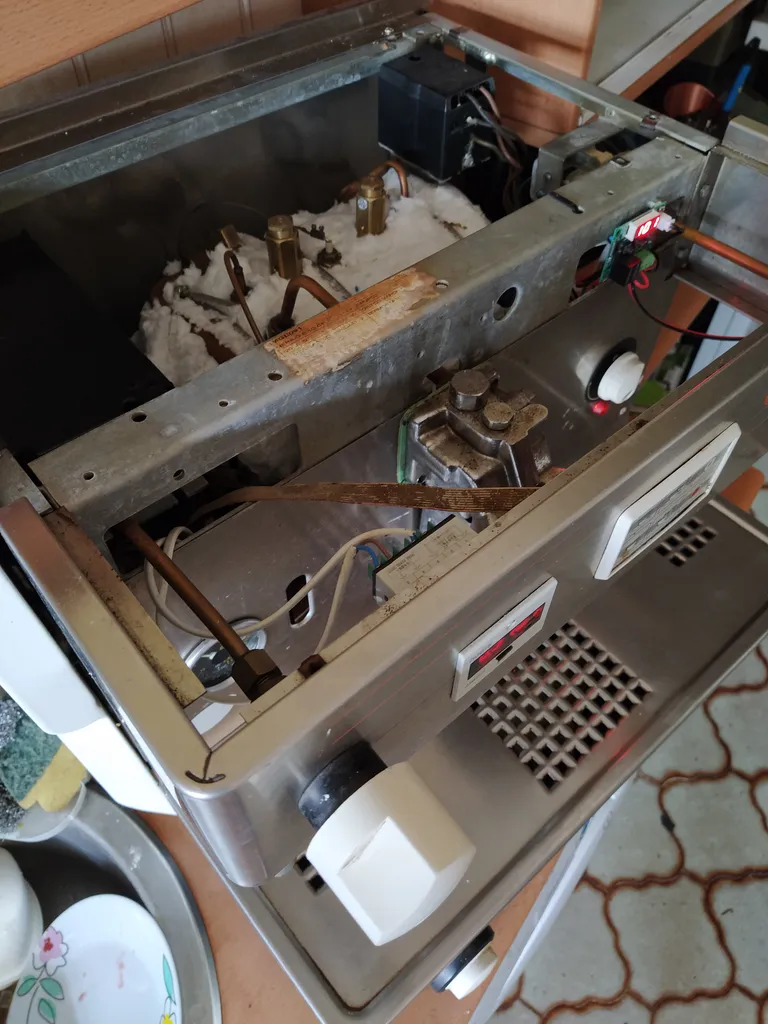
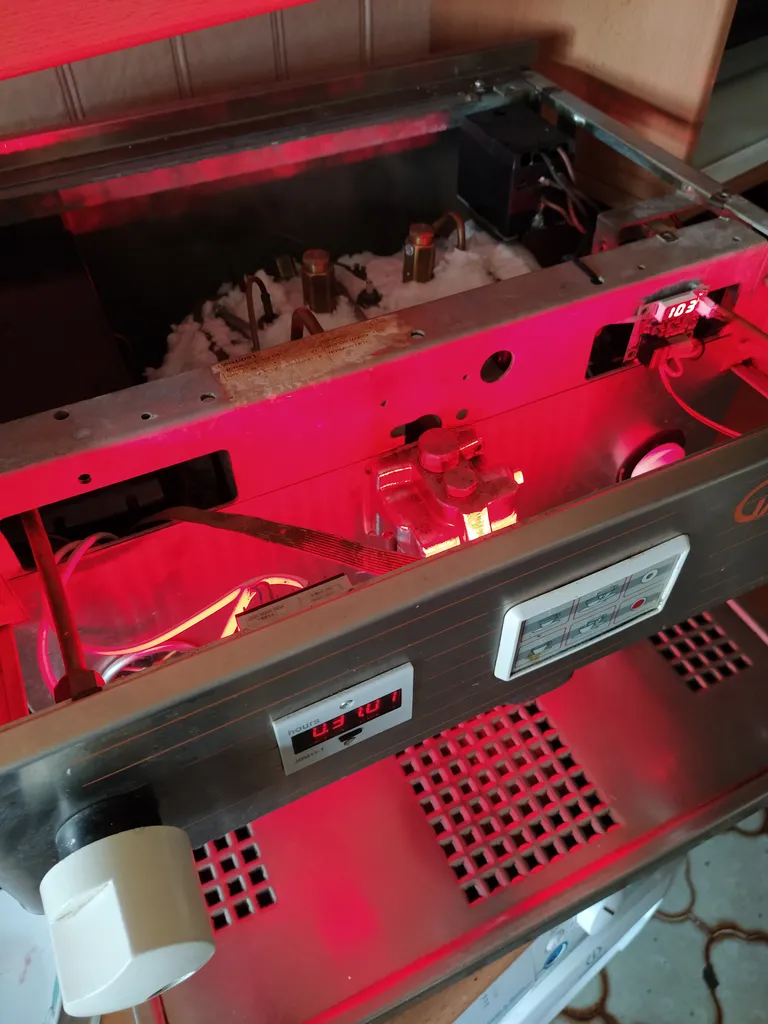
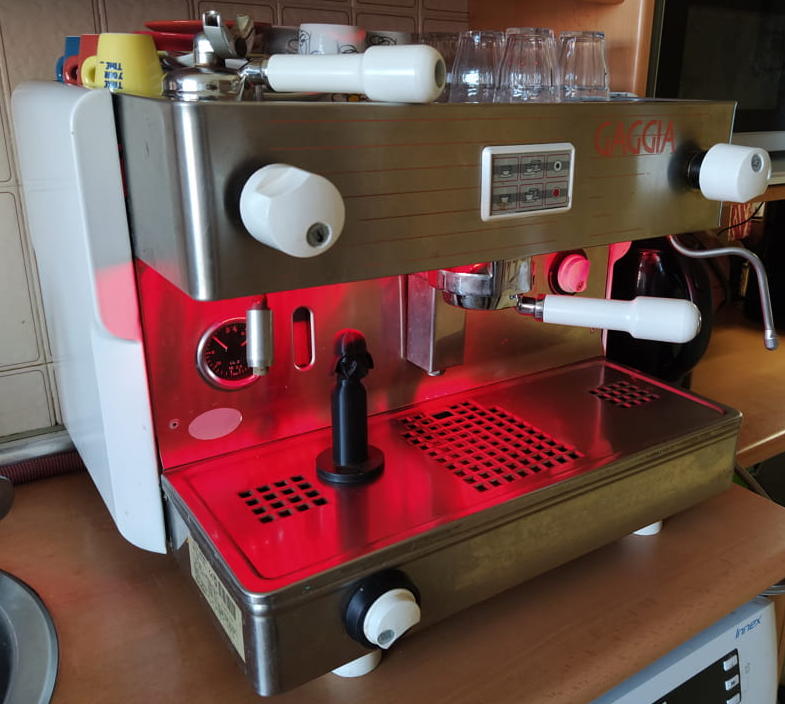
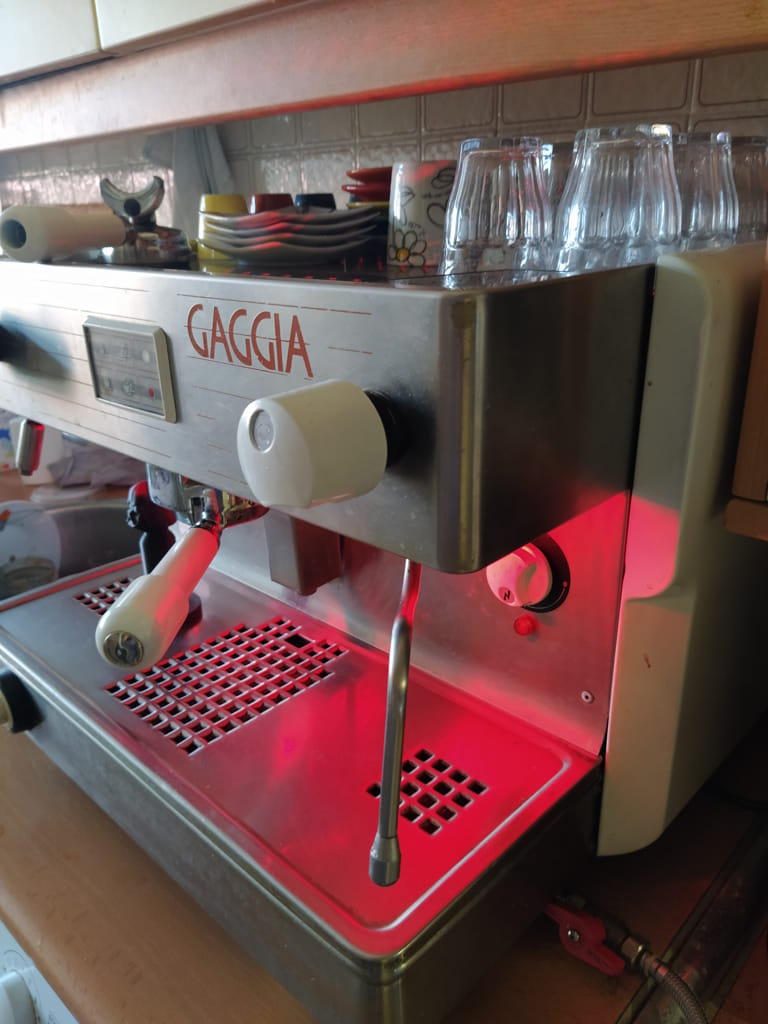
Then there are some lights that turn on when the boiler reaches brewing temperature.
Unfortunately, this sensor is limited to 110°C and the boiler brewing temperature is about 130°C but it gets the job done.
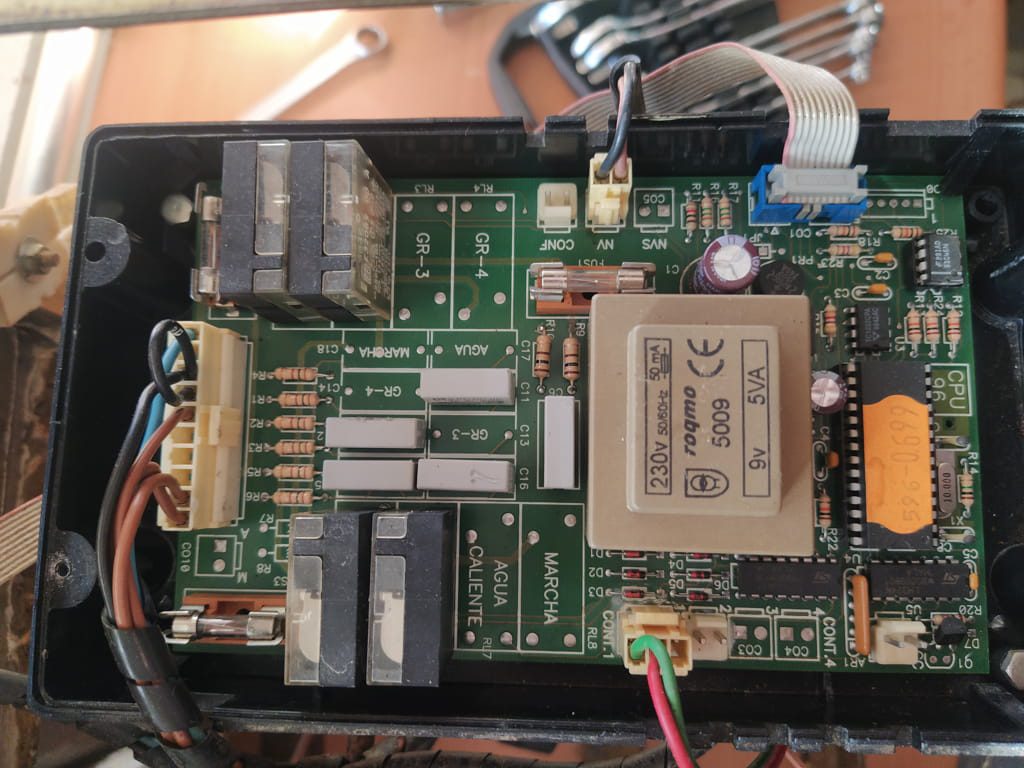
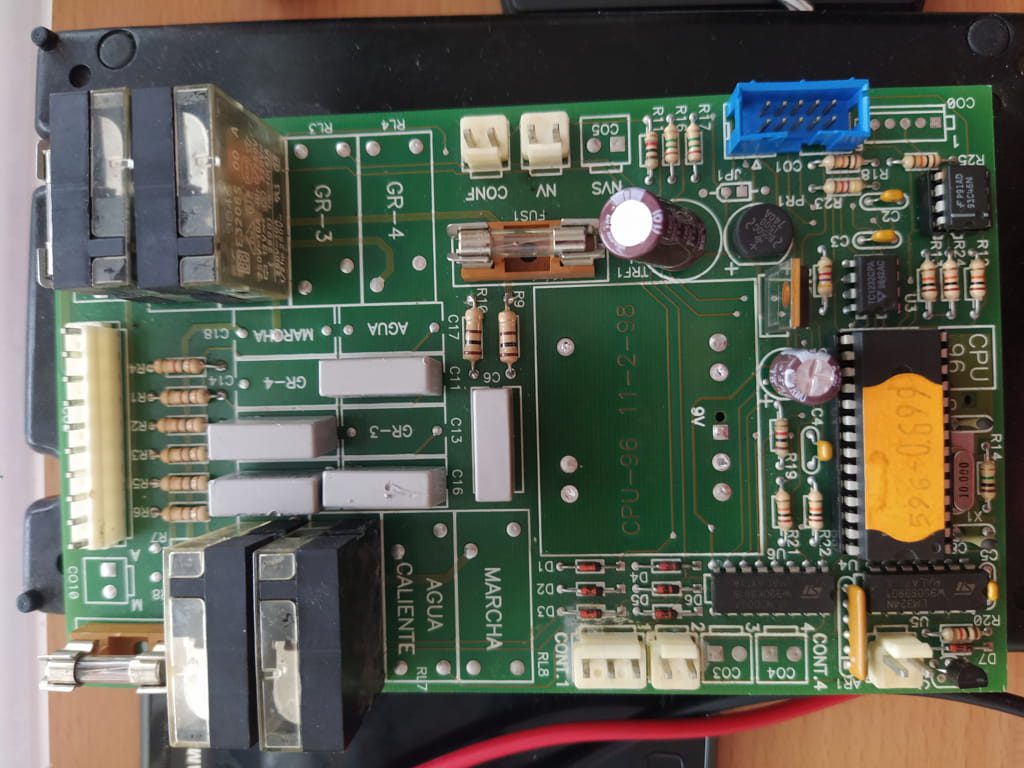
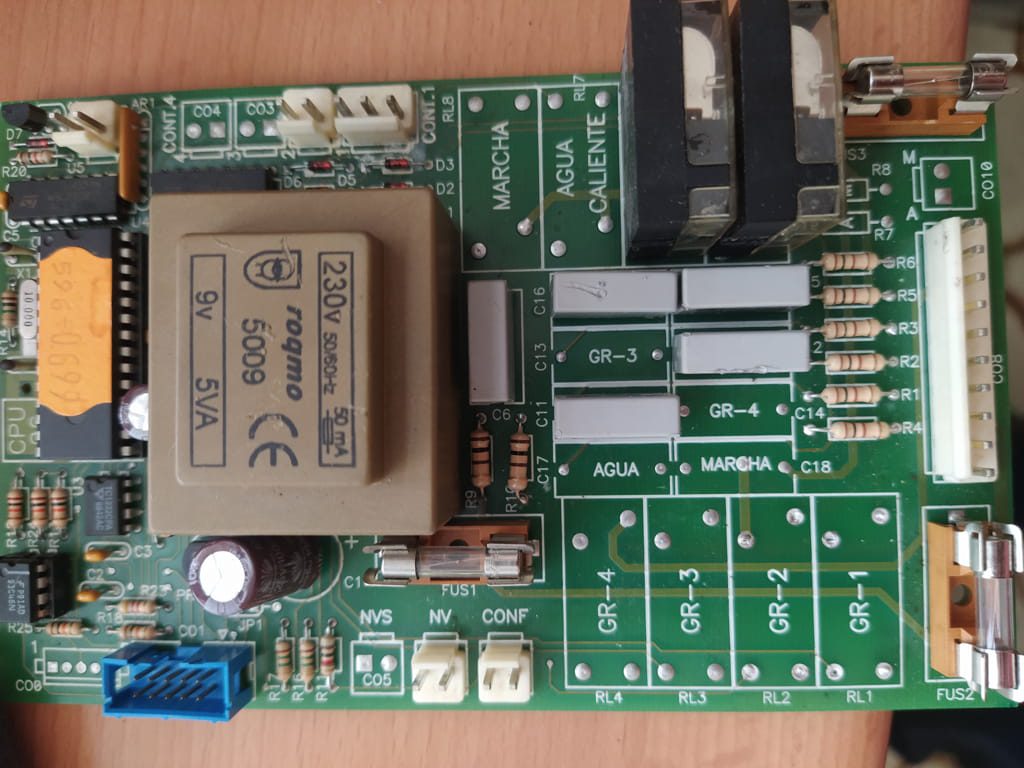
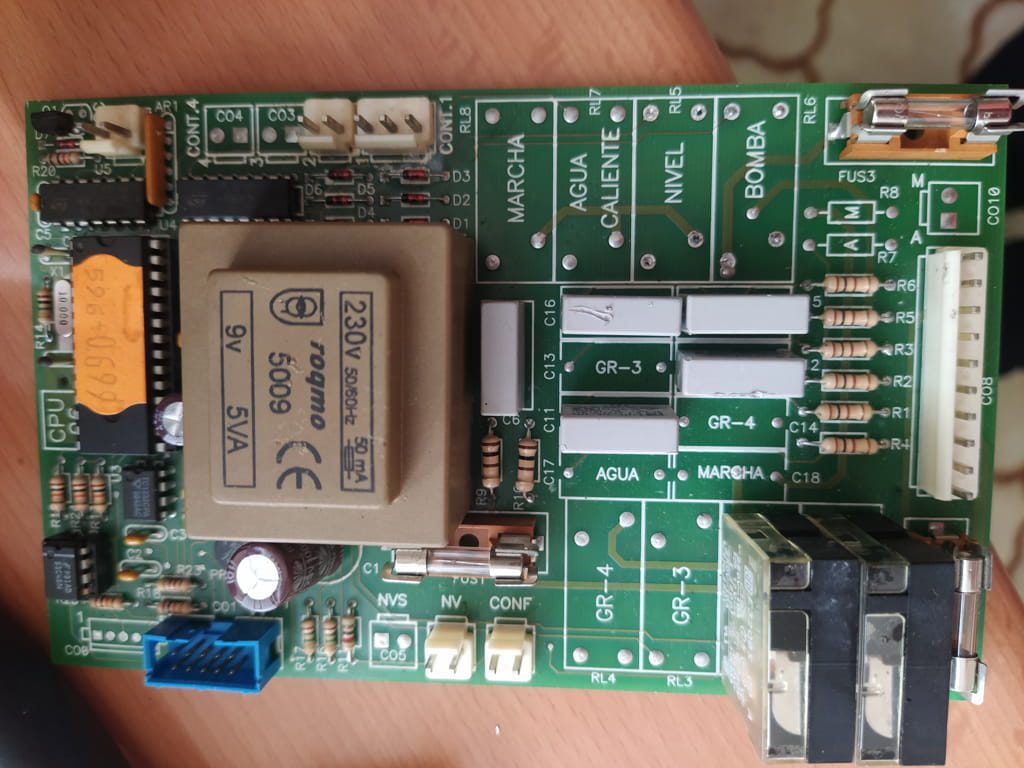
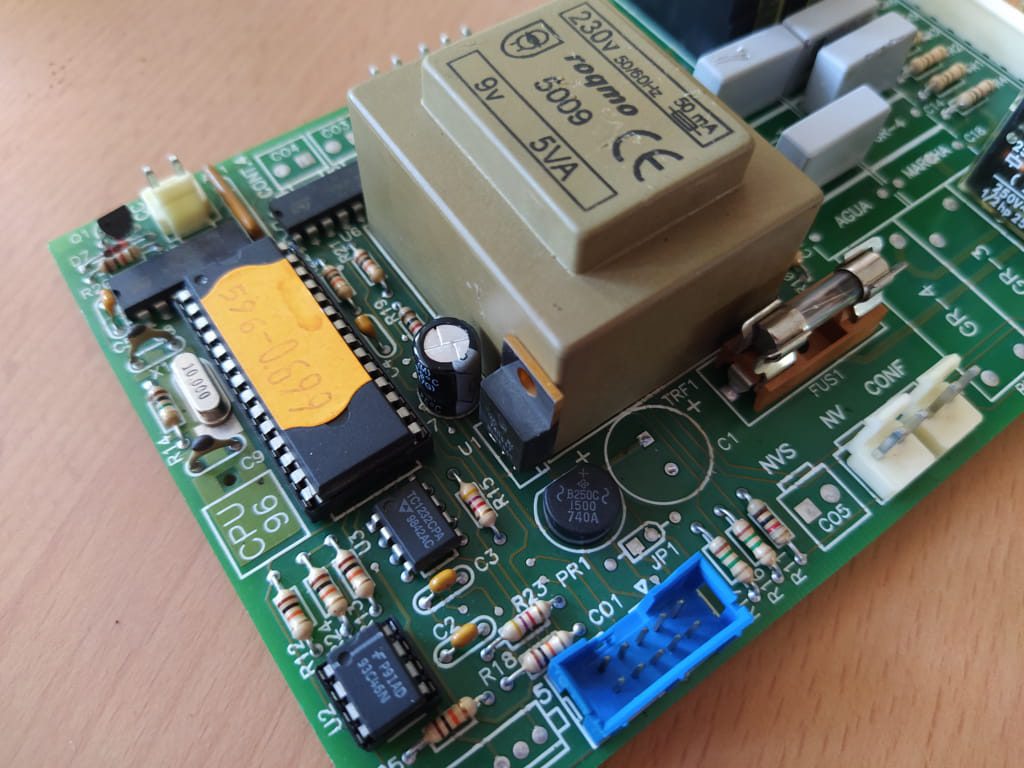
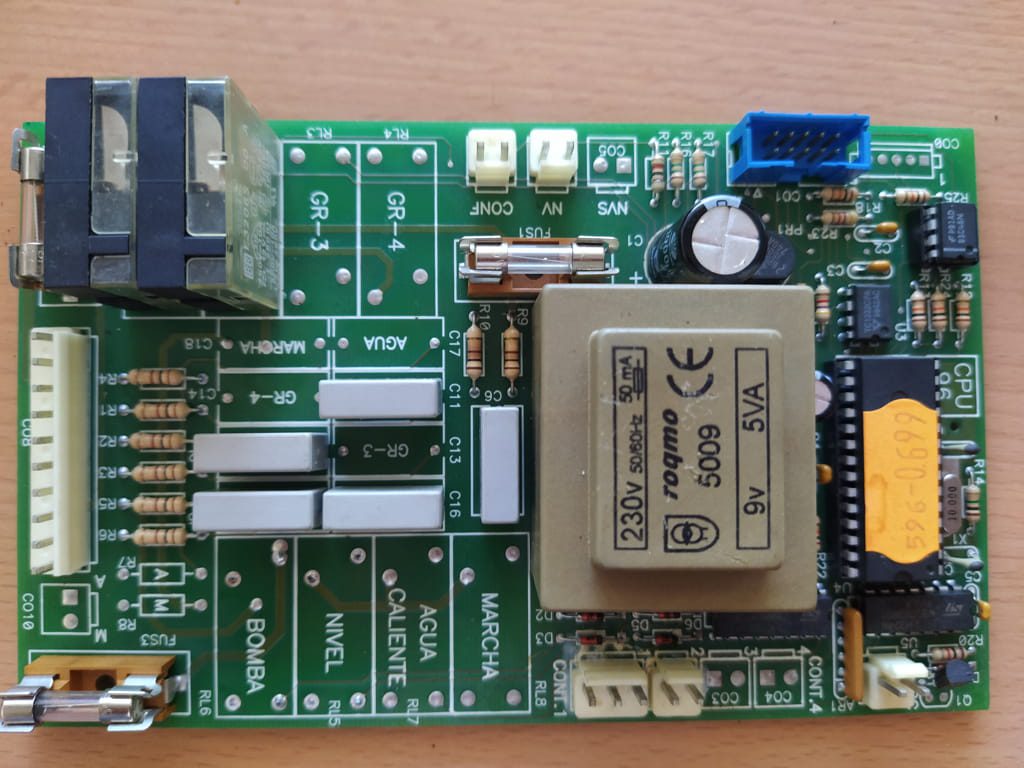
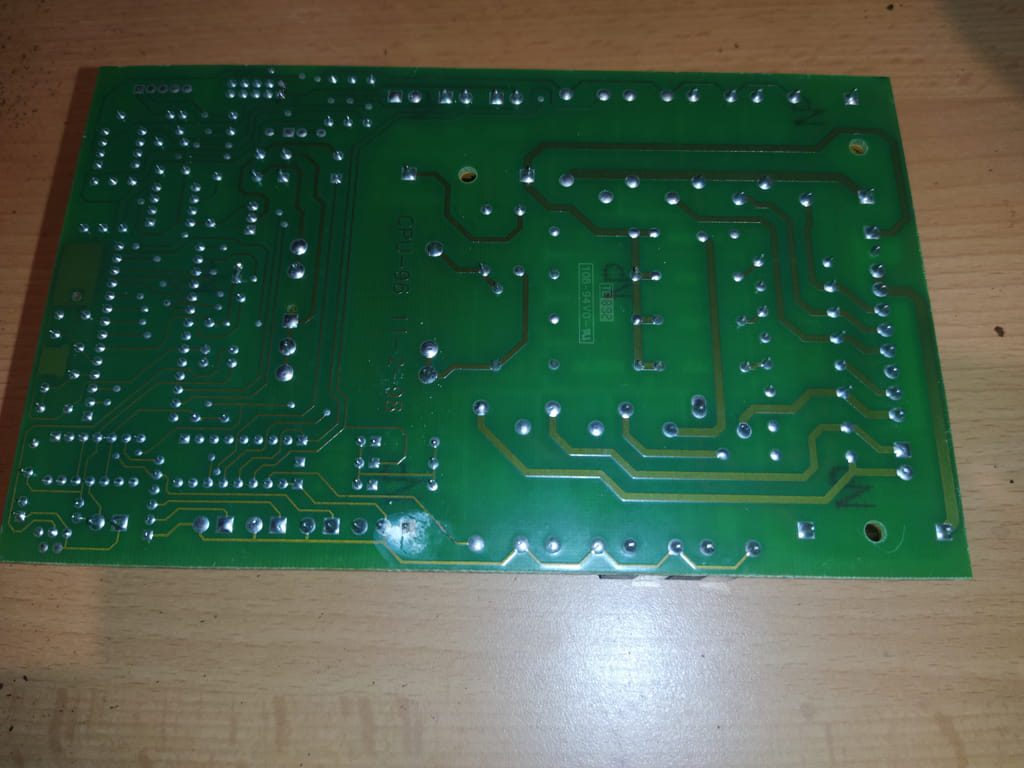
The pcb
On the job
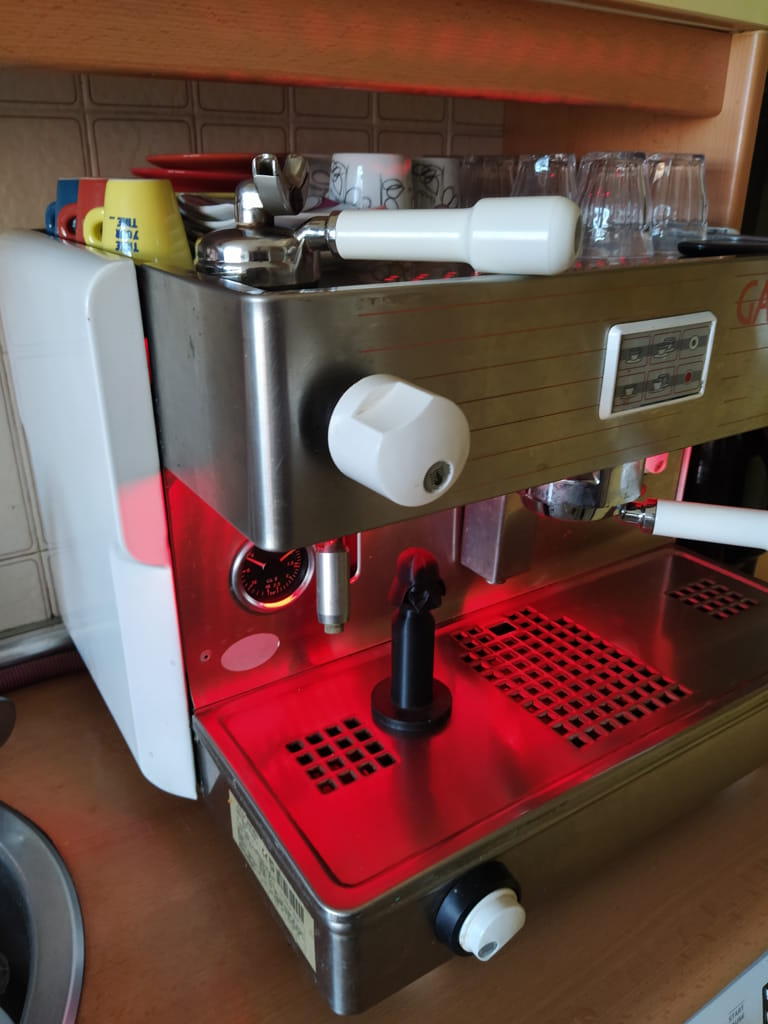
Painted white and installed a thermometer that turns some red leds on when the brewing temperature is reached. That’s a Darth Vader tamper.
There are more to come….
