
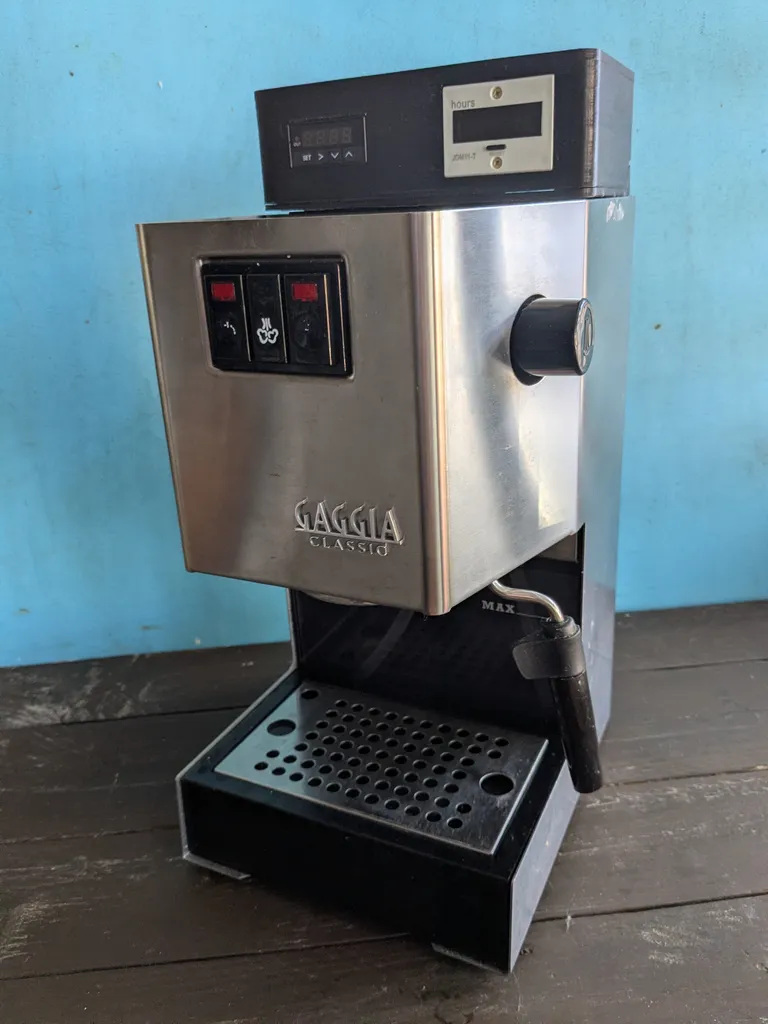
Gaggia Classic Mod
Planning stage
- PID
- SSR 40A
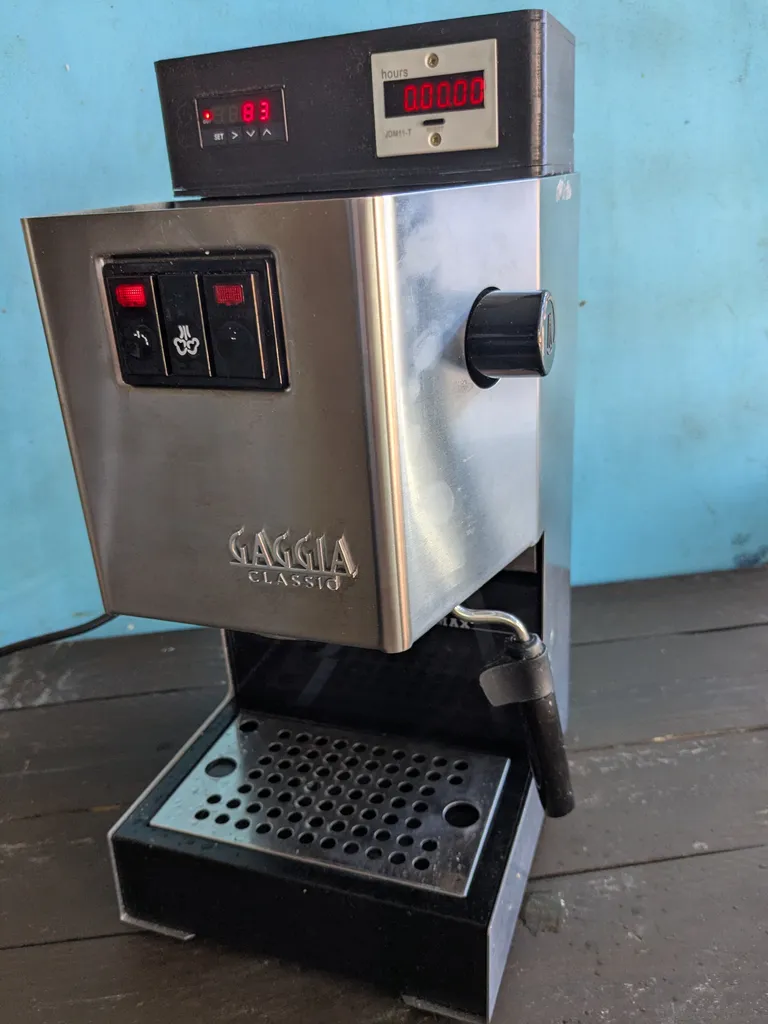
- Timer

3d printing and casing
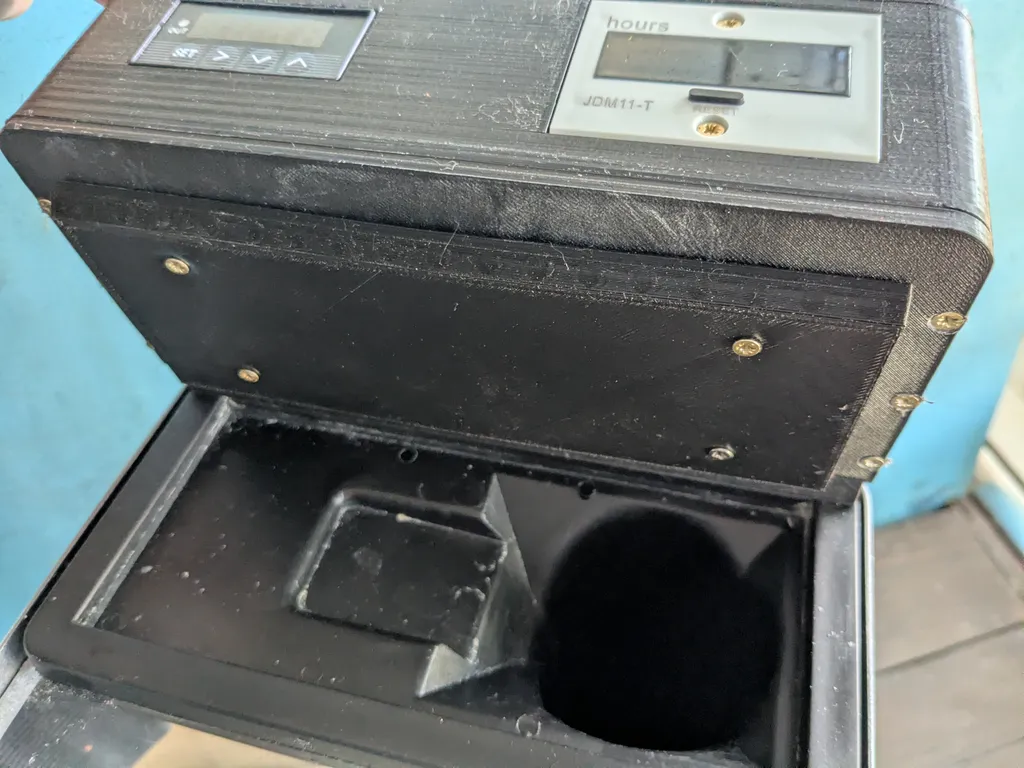
Original parts are kept. The base hinge is screwed on top of the original water funnel.
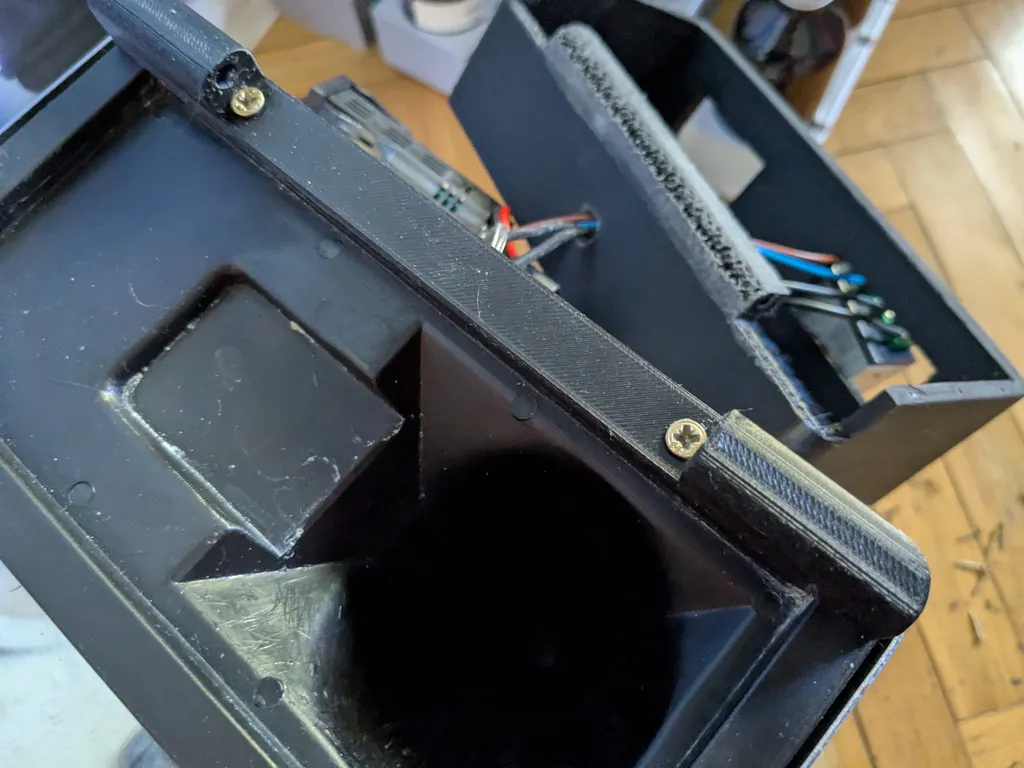
The water reservoir top is replaced with two 3D printed parts. This could have been done in one piece but due to the limitations of 3D printing a different approach was used. This way the parts get a smoother surface area.
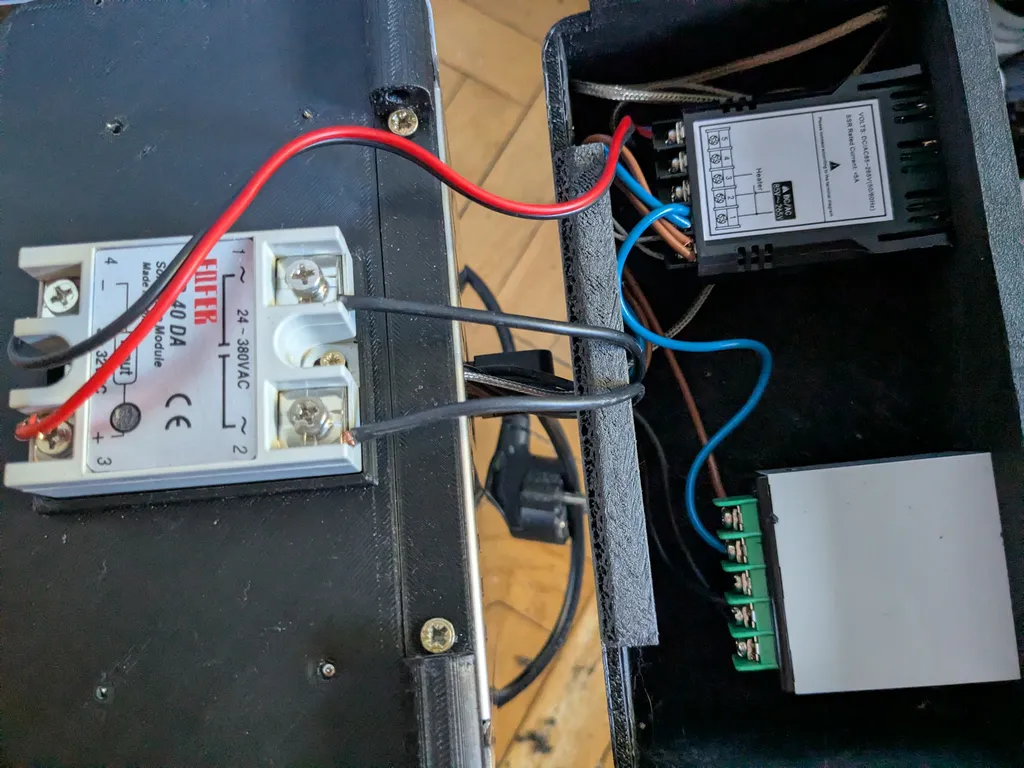
wiring
These are the main power cables providing electricity to the PID and counter. Blue is the neutral and brown the Phase.
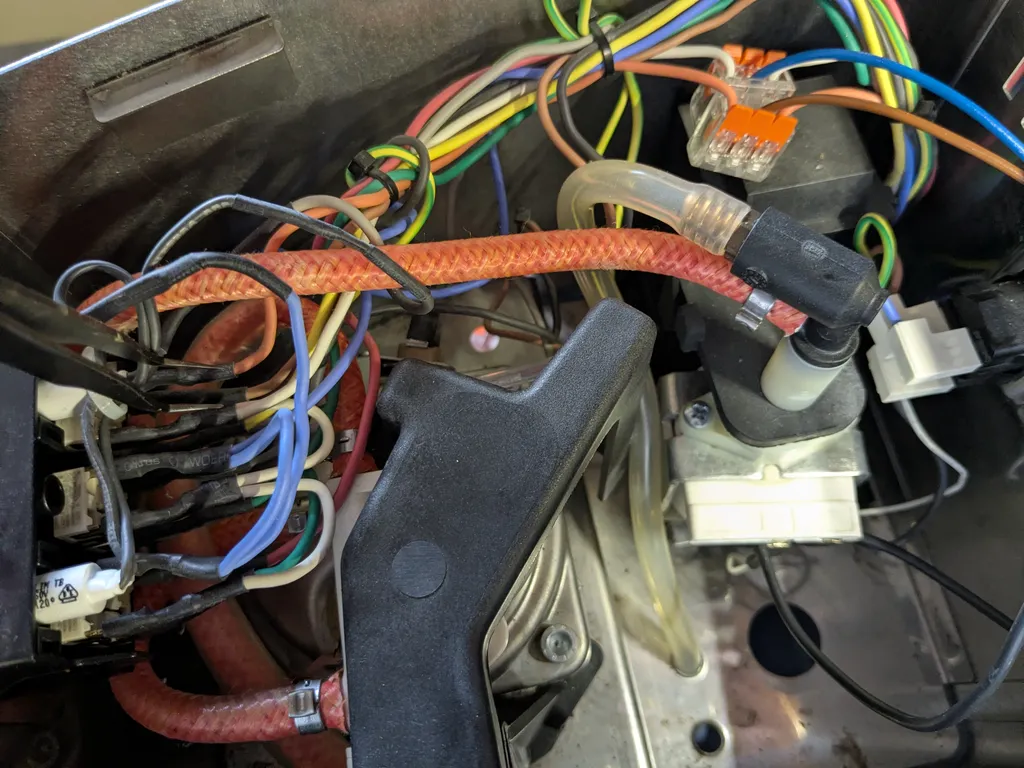
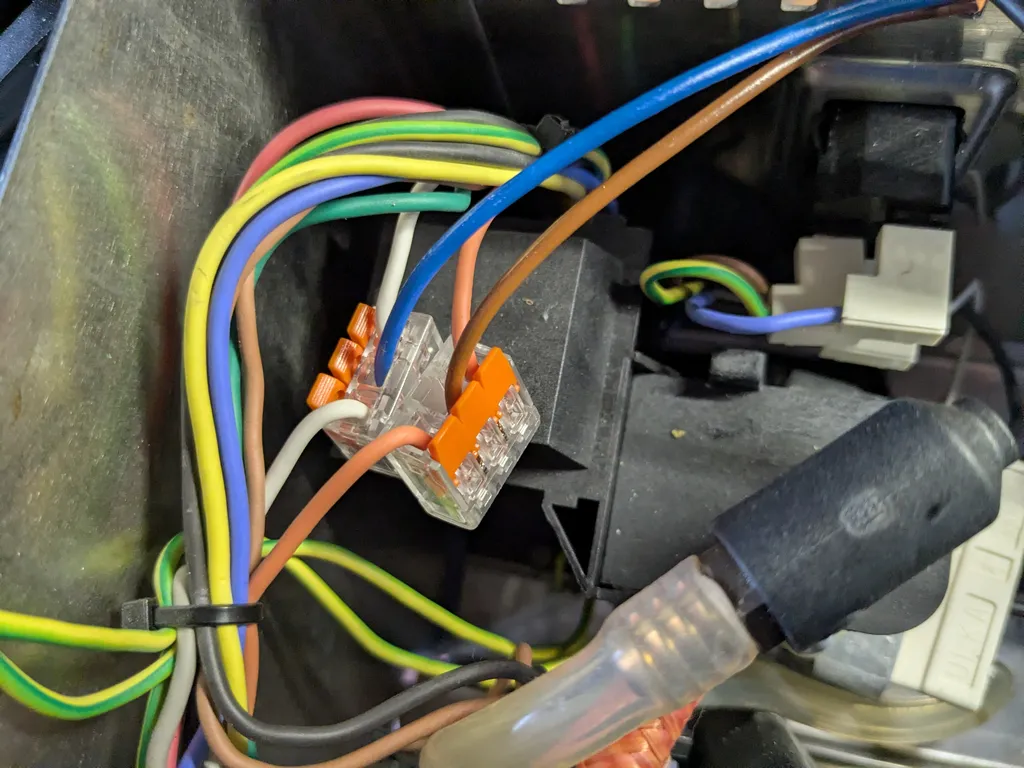
The red and black cable is DC and controls the SSR.
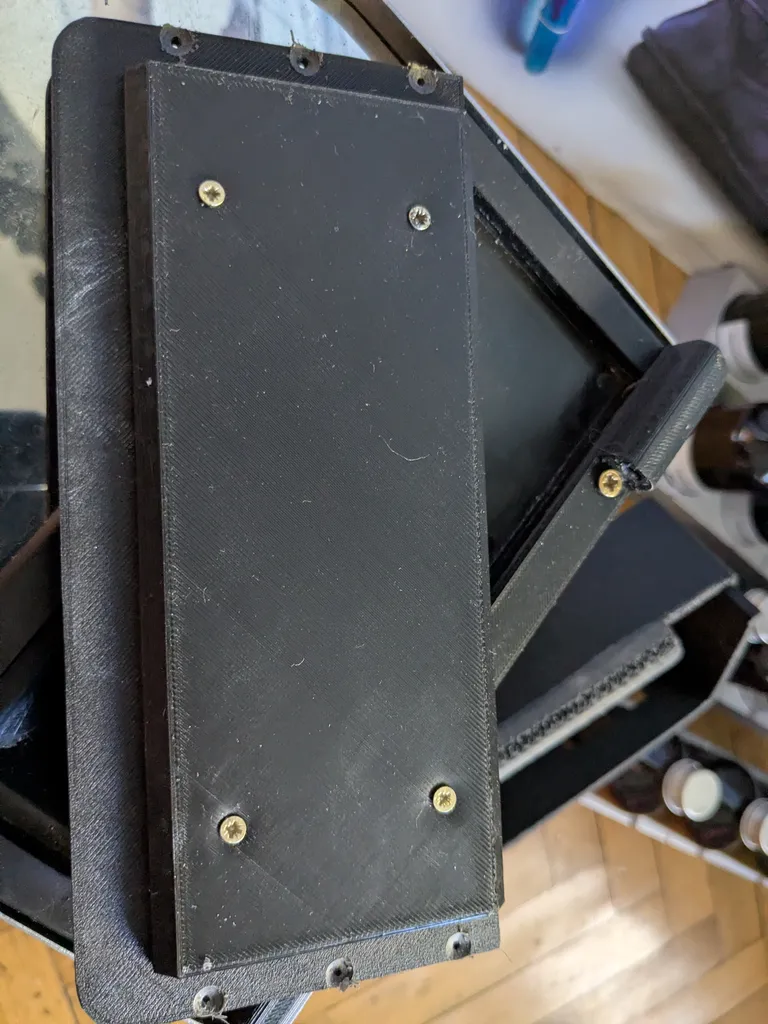
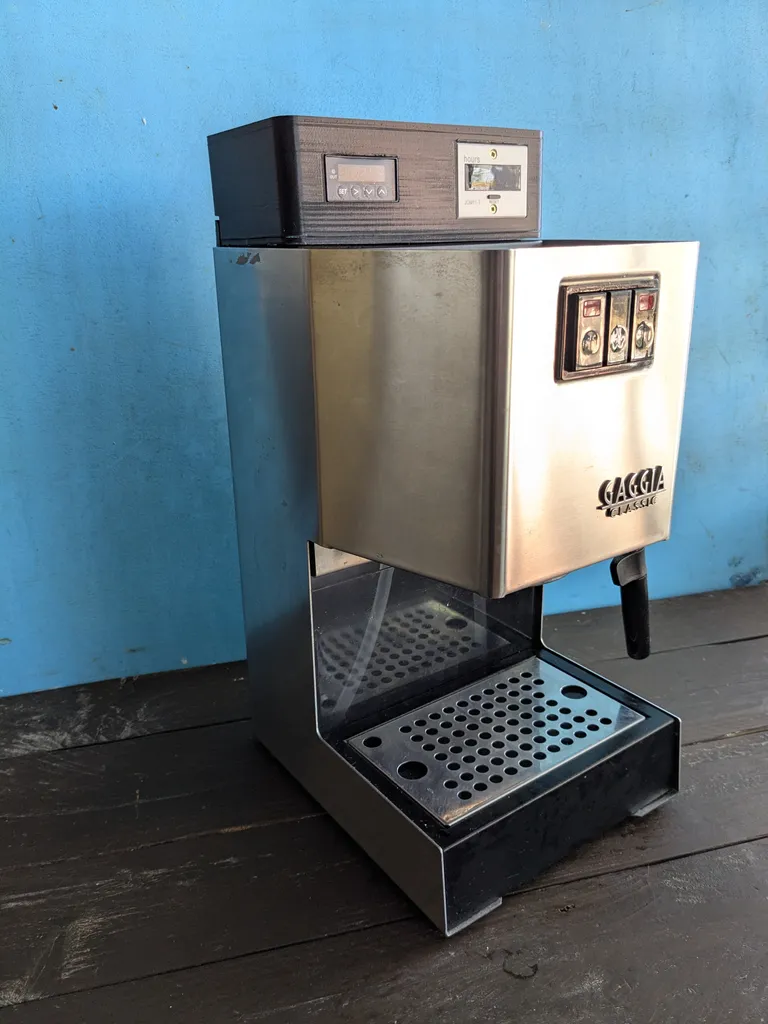
Assembly
This is how things look screwed together.
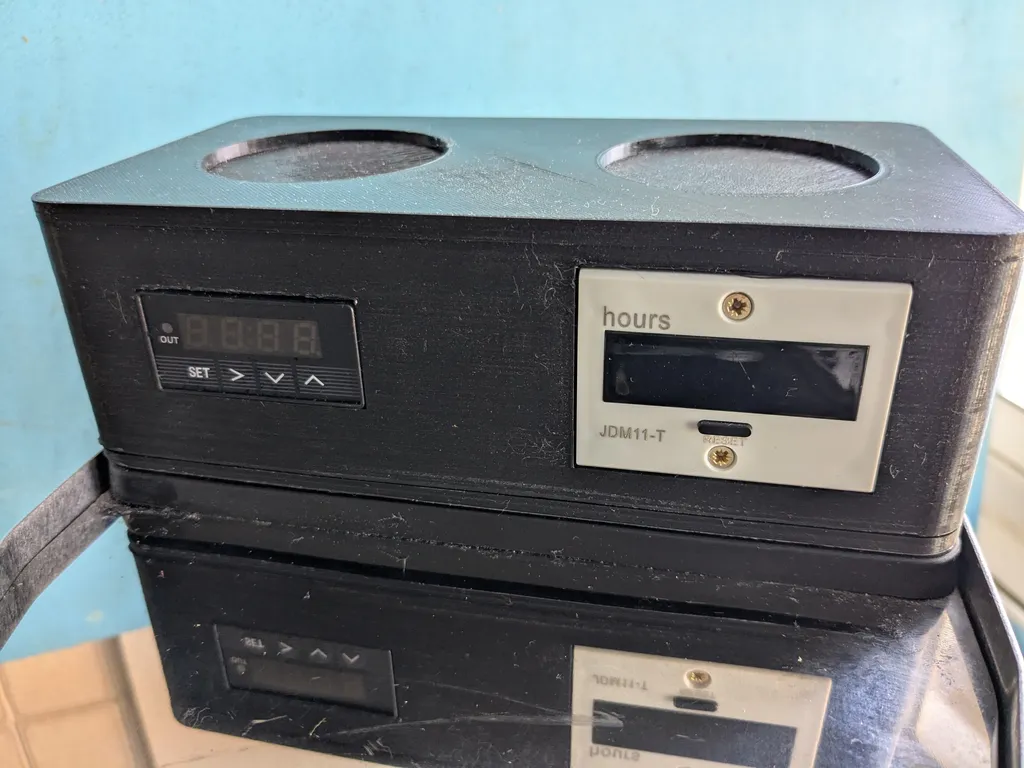
There is room for improvement here. The next gen print should take care of design flaws.
The cables are scrubbing against the rough edges of the cutout. This should be addressed.
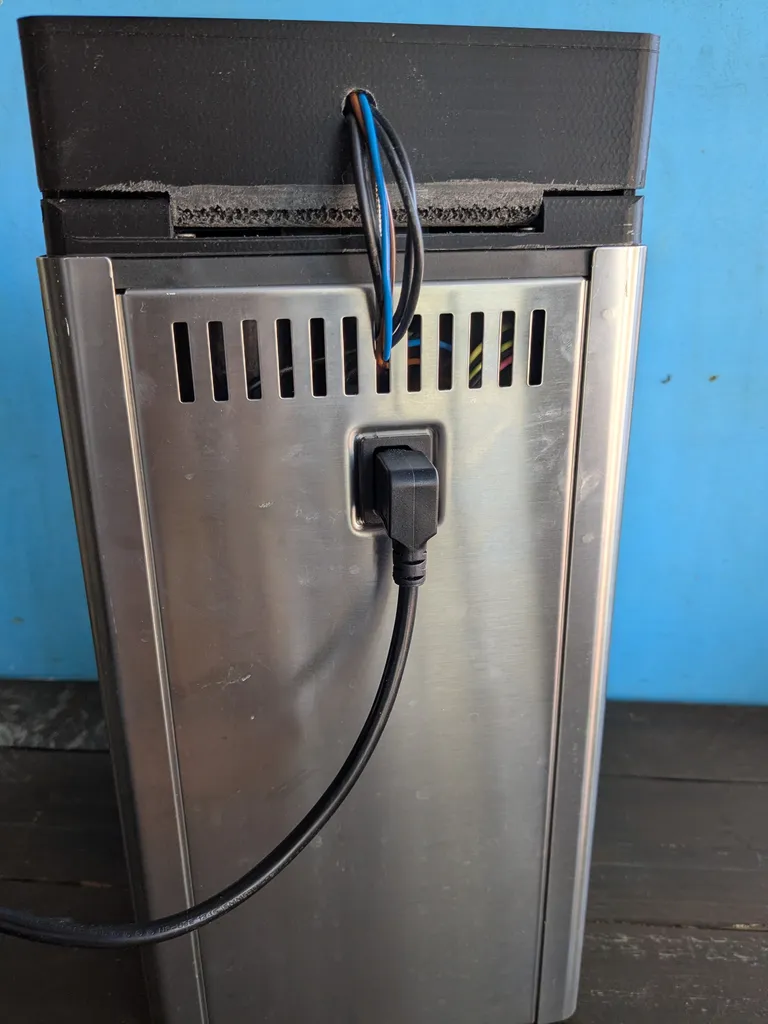
The build looks good enough though.
Test ride
tuning the pid
Printables: